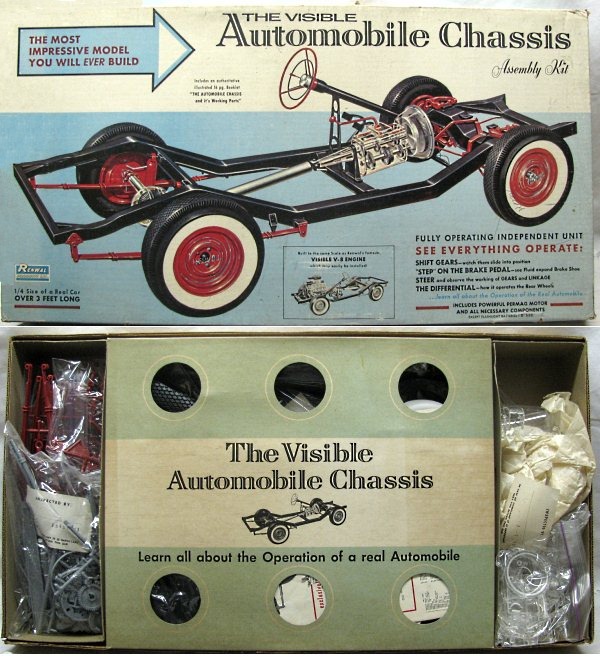
After I bought the Renwal Visible V8 I got interested in Renwal The
Visible Automobile Chassis. I quickly found out that the price for a
100% guaranteed complete kit were fairly high and as I considered
the chassis more like a gadget and not something I really needed I
just put the idea aside to buy one.
But luck smiled on me. In
December 2012 I received a bonus for 40 years of government service.
I knew it was coming, but always thought that I had to pay a serious
amount of taxes over that bonus. I was pleasantly surprised to find
out that it was free of tax! So I suddenly got a very substantial
amount of money. Hmm, what to do with it? Well, a fair amount went
to my savings account, but at that moment I decided it was THE
moment to get that Renwal chassis. You could say: Paid for by the
government ;-)
I soon found a complete kit and bought it. The
first thing which went to my mind when I saw all the parts was: Oh
My God, that thing is HUGE!
I couldn't build something big
like that on my
usual workplace, so I set up a 'construction site' in my backroom
were I have a large table.
Below are some pictures of the build
and some additional information.
Renwal Menu |
 |
|
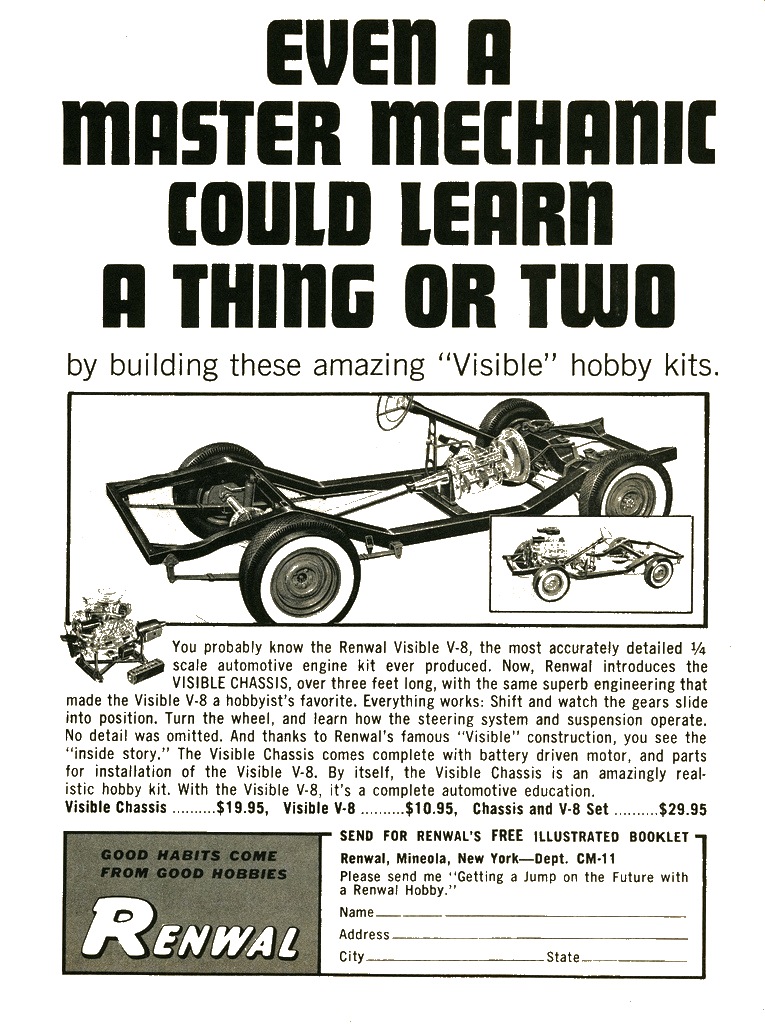
Ad from 1963 for The Visible Automobile Chassis |
 |
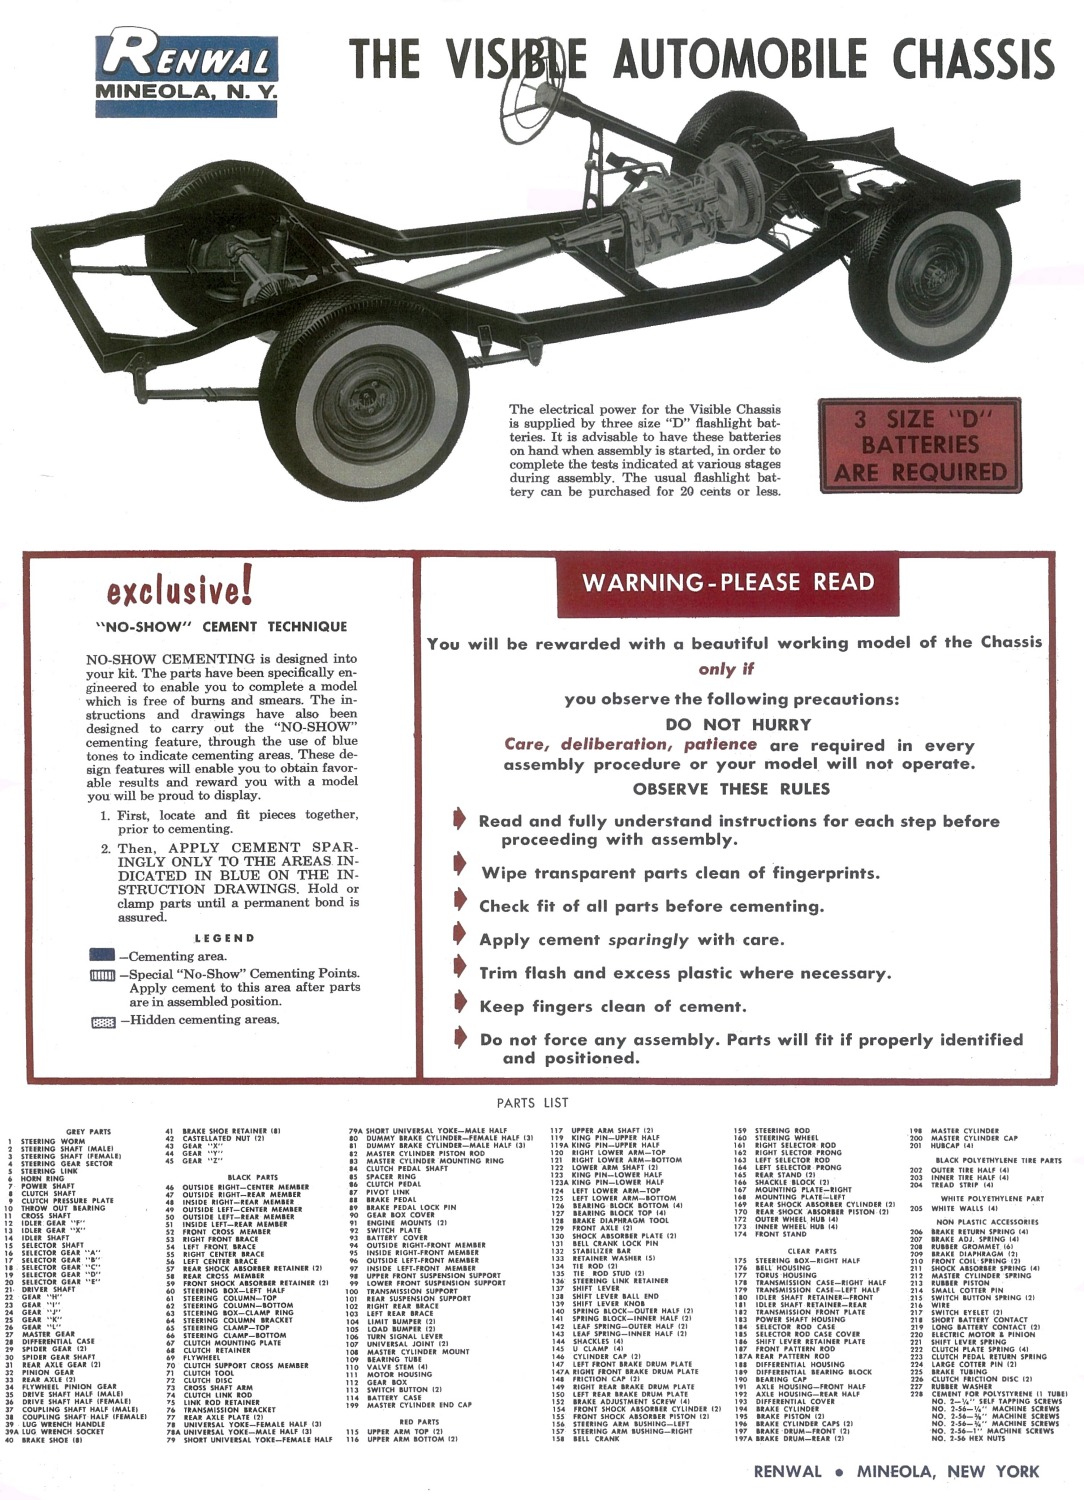
The first page of the construction manual for The Visible Automobile Chassis
(click on the picture to open a large picture in a new window) |
 |
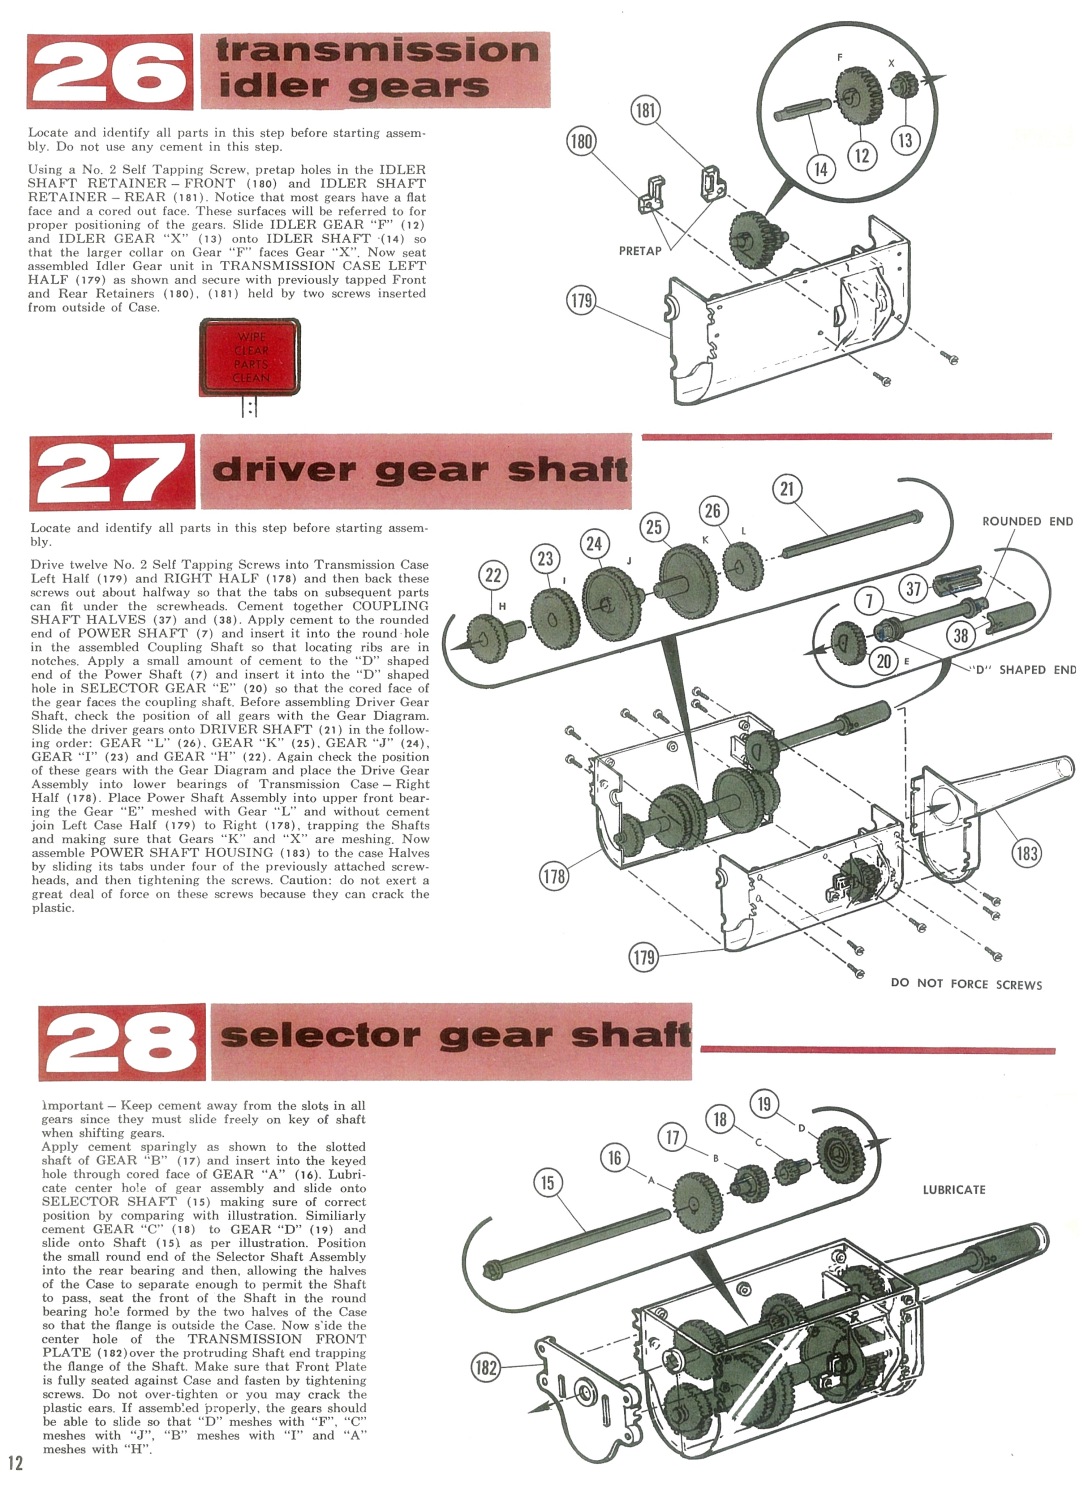
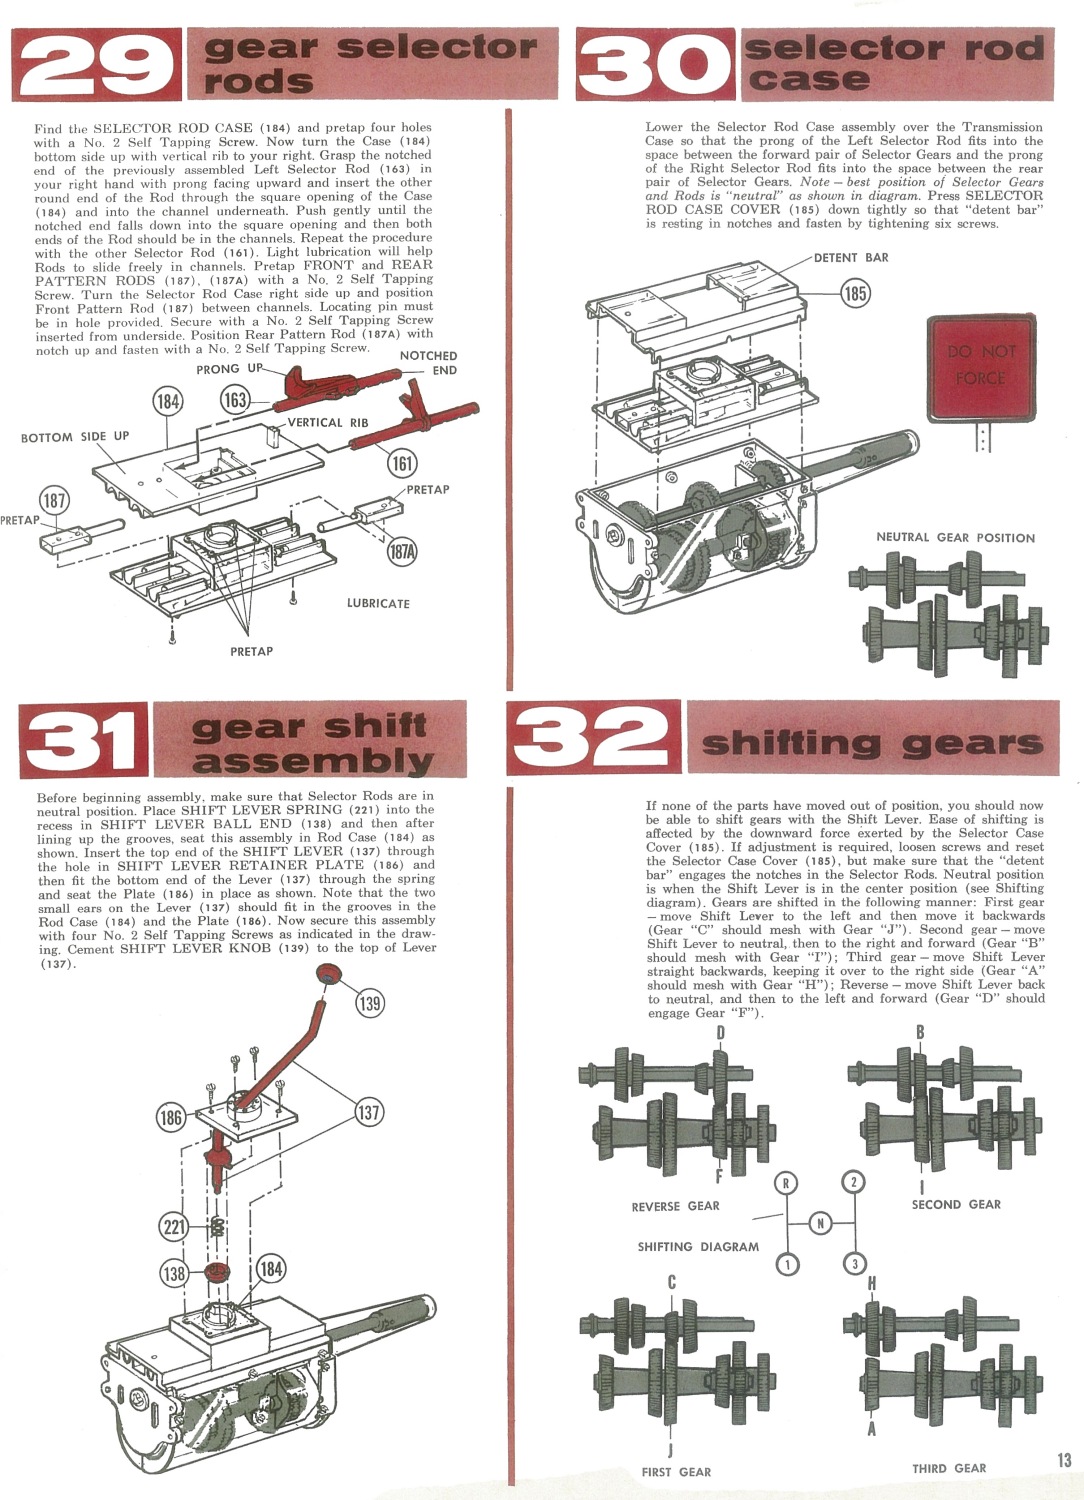
And here are two more interesting pages, showing
the assembly steps of the working transmission
(click on the picture to open a large picture in a new window) |
 |
 |
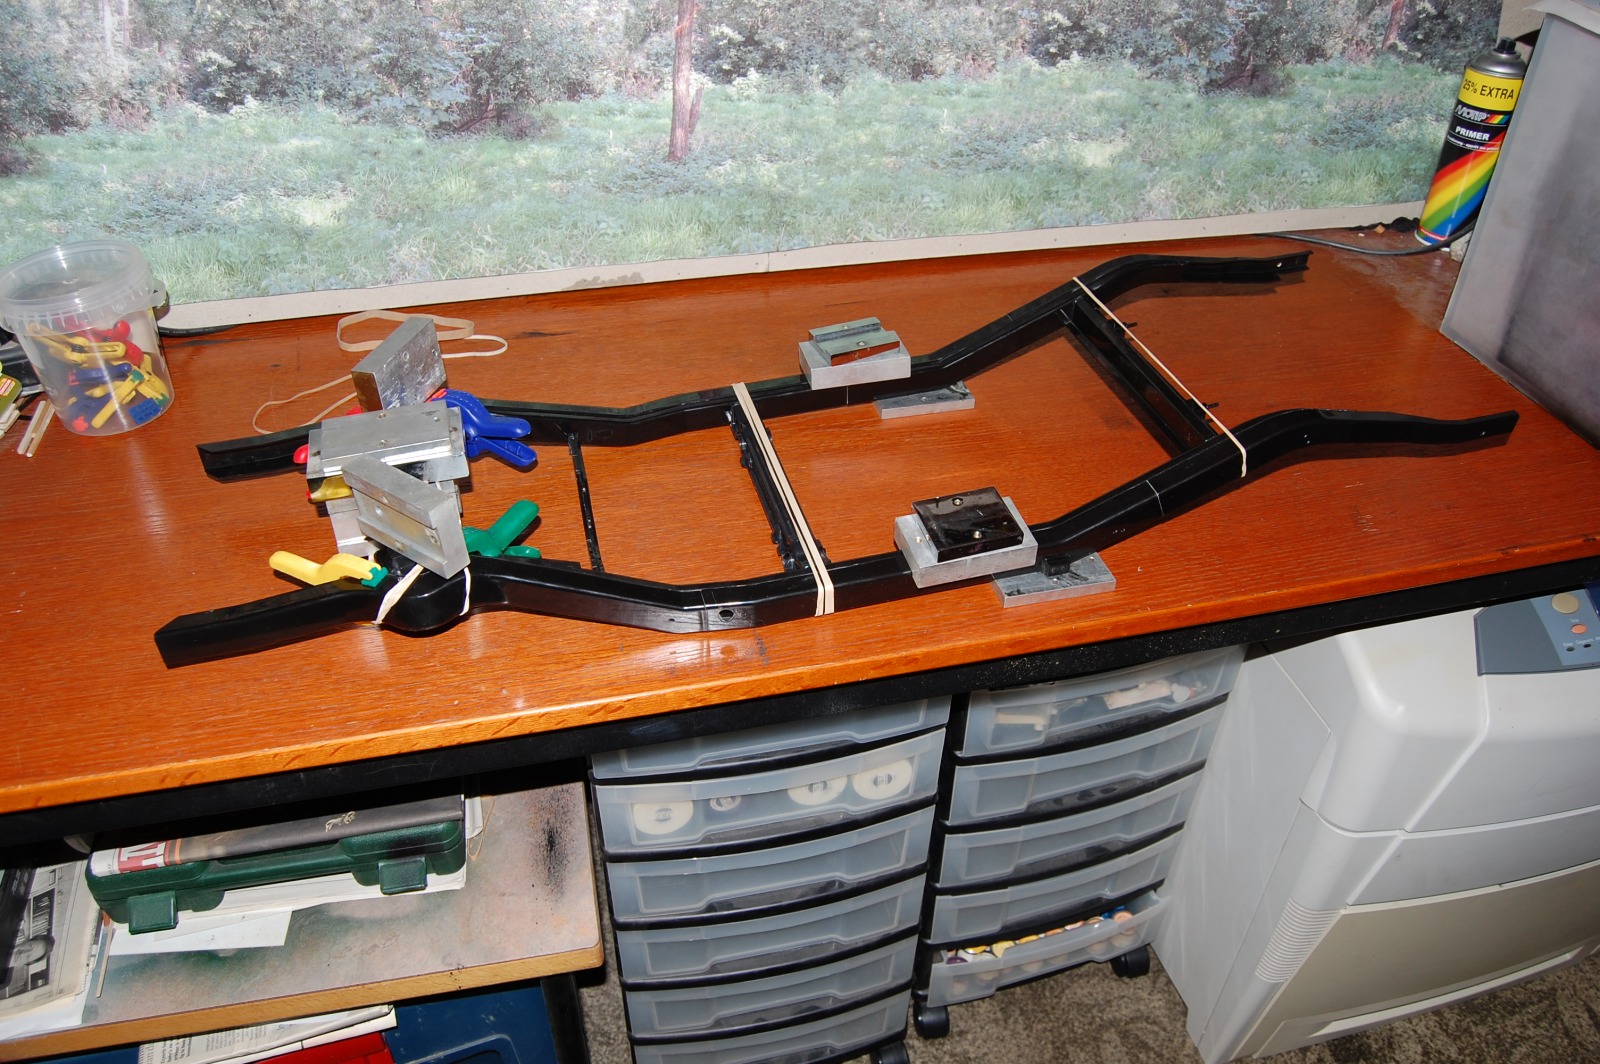
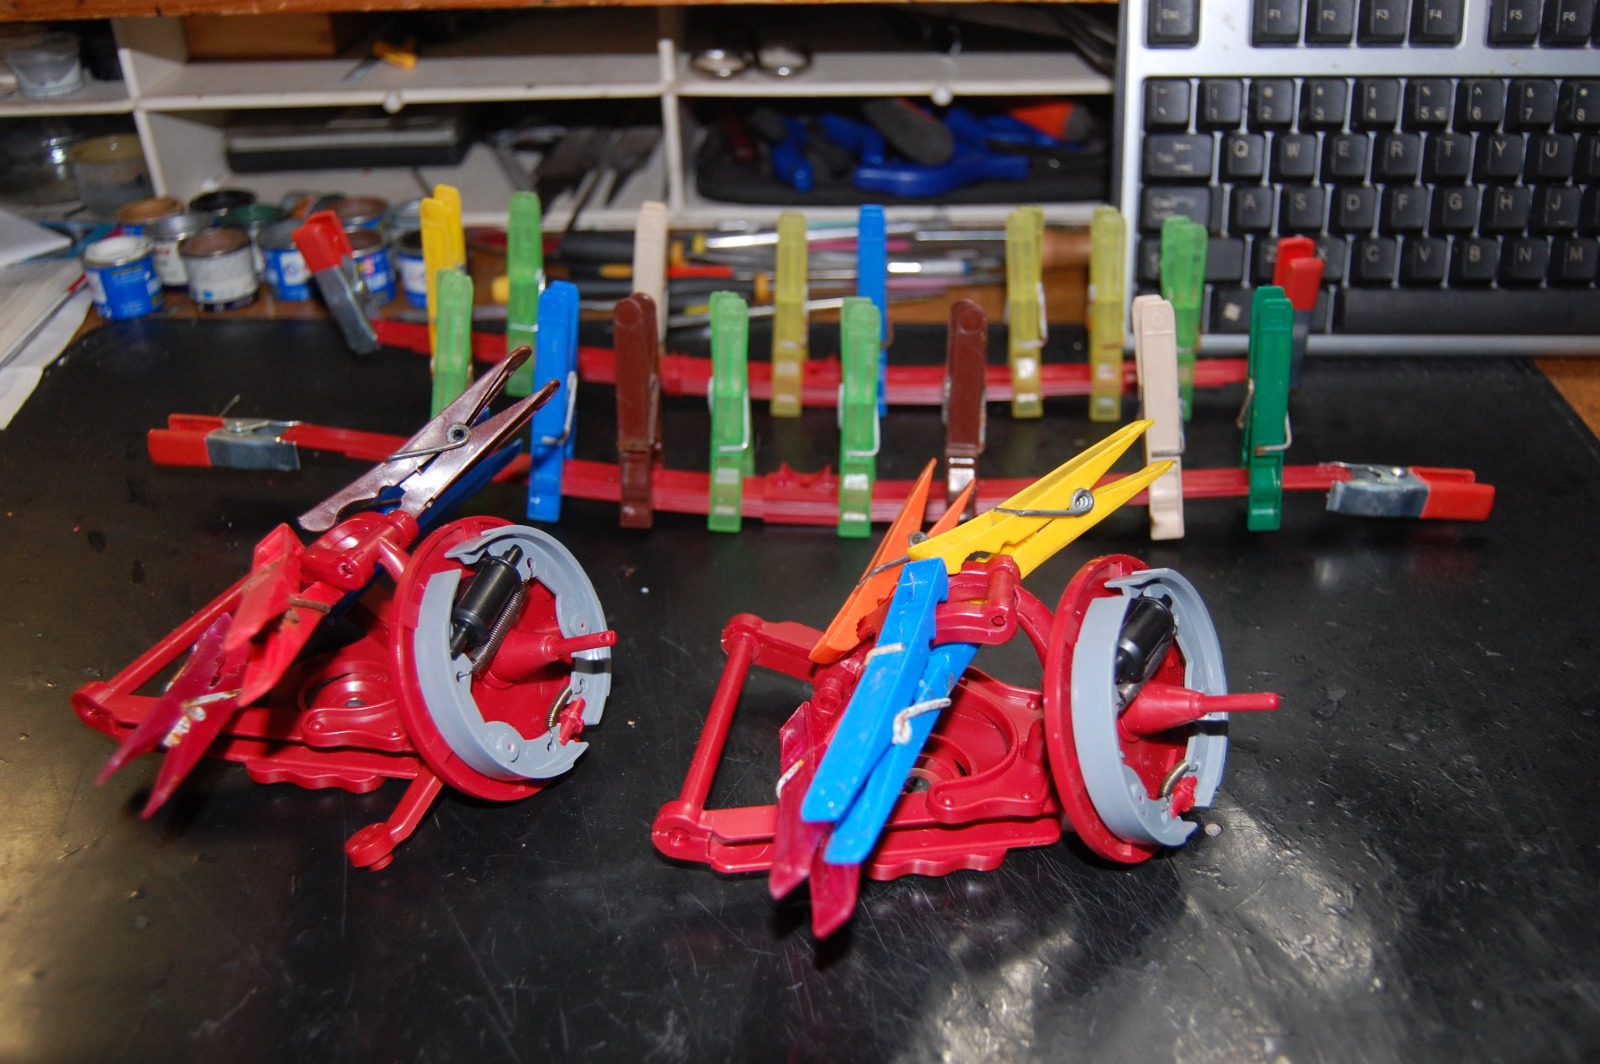
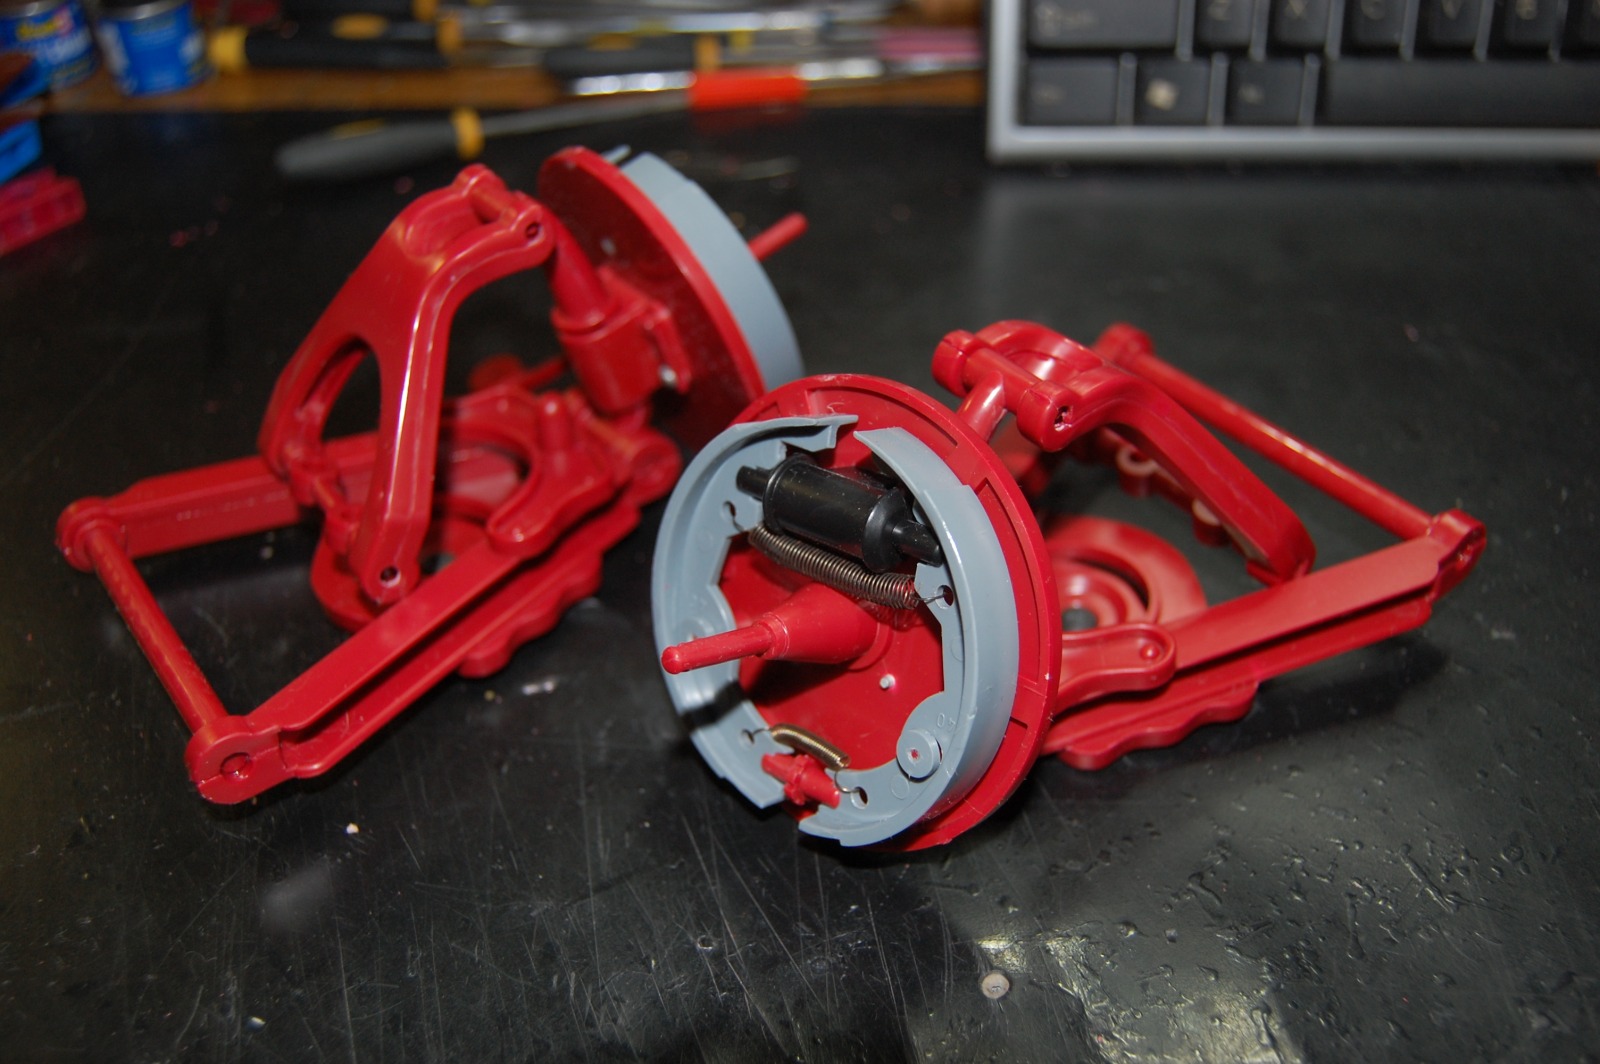
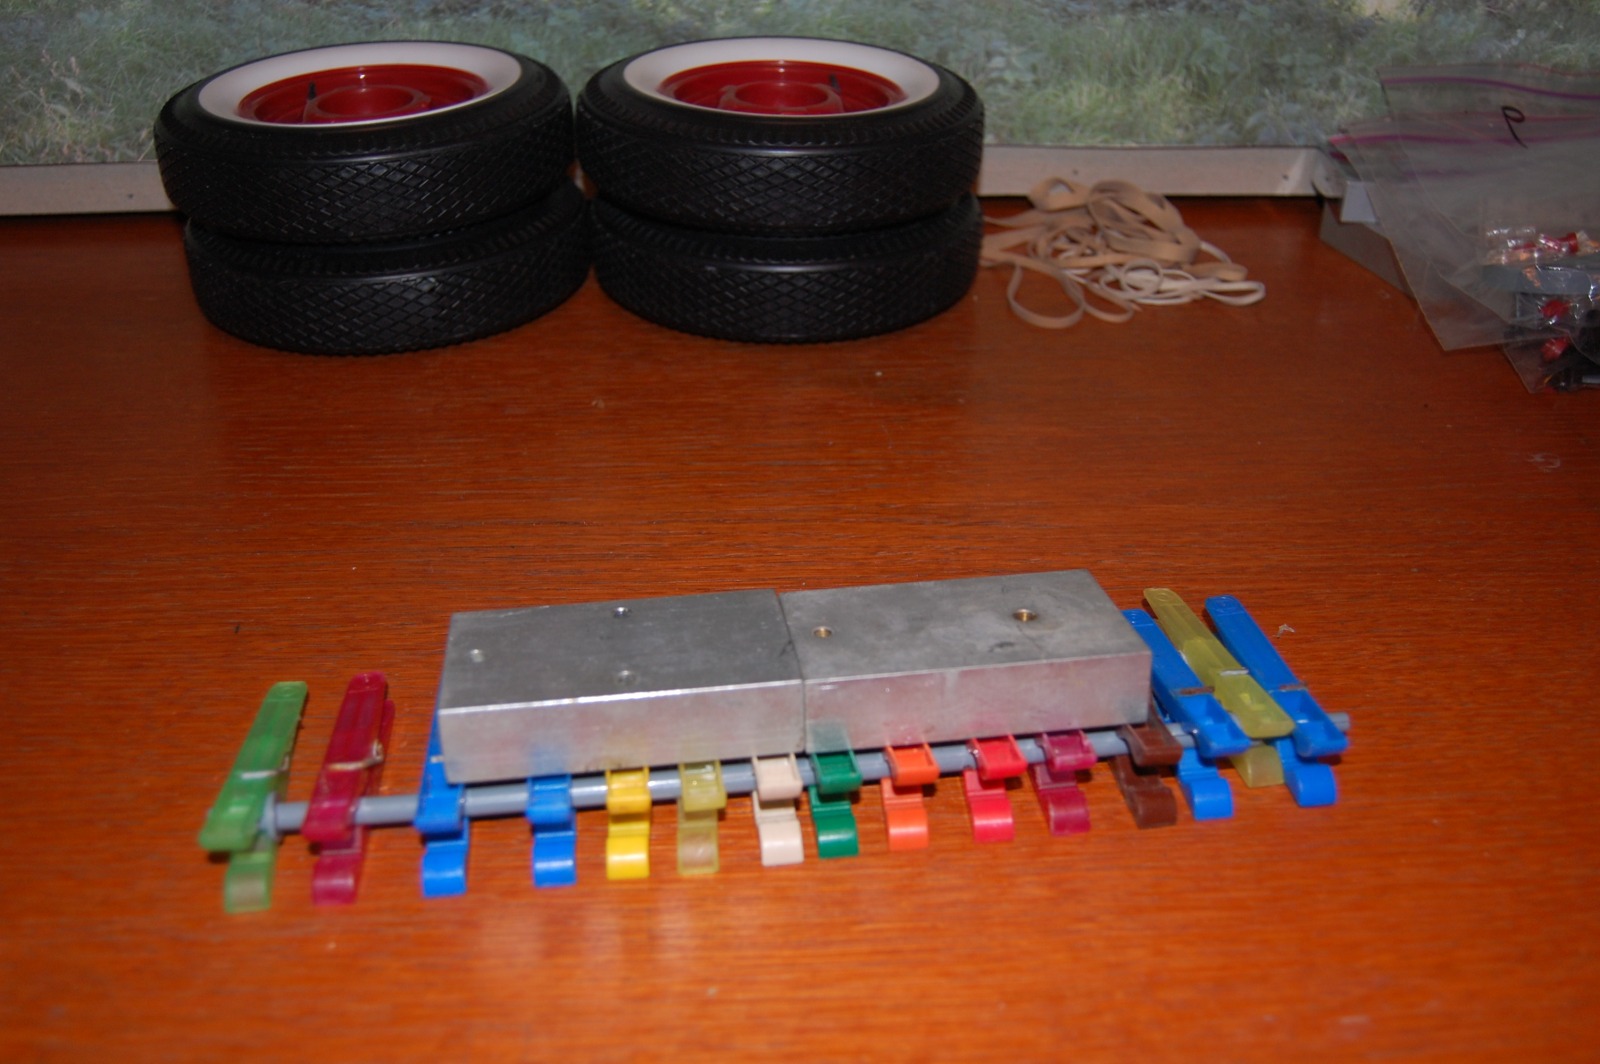
Glueing all the large parts firmly (and straight!)
together demanded working with a lot of clamps and weights
(click on the picture to open a large picture in a new window) |
 |
 |
 |
 |
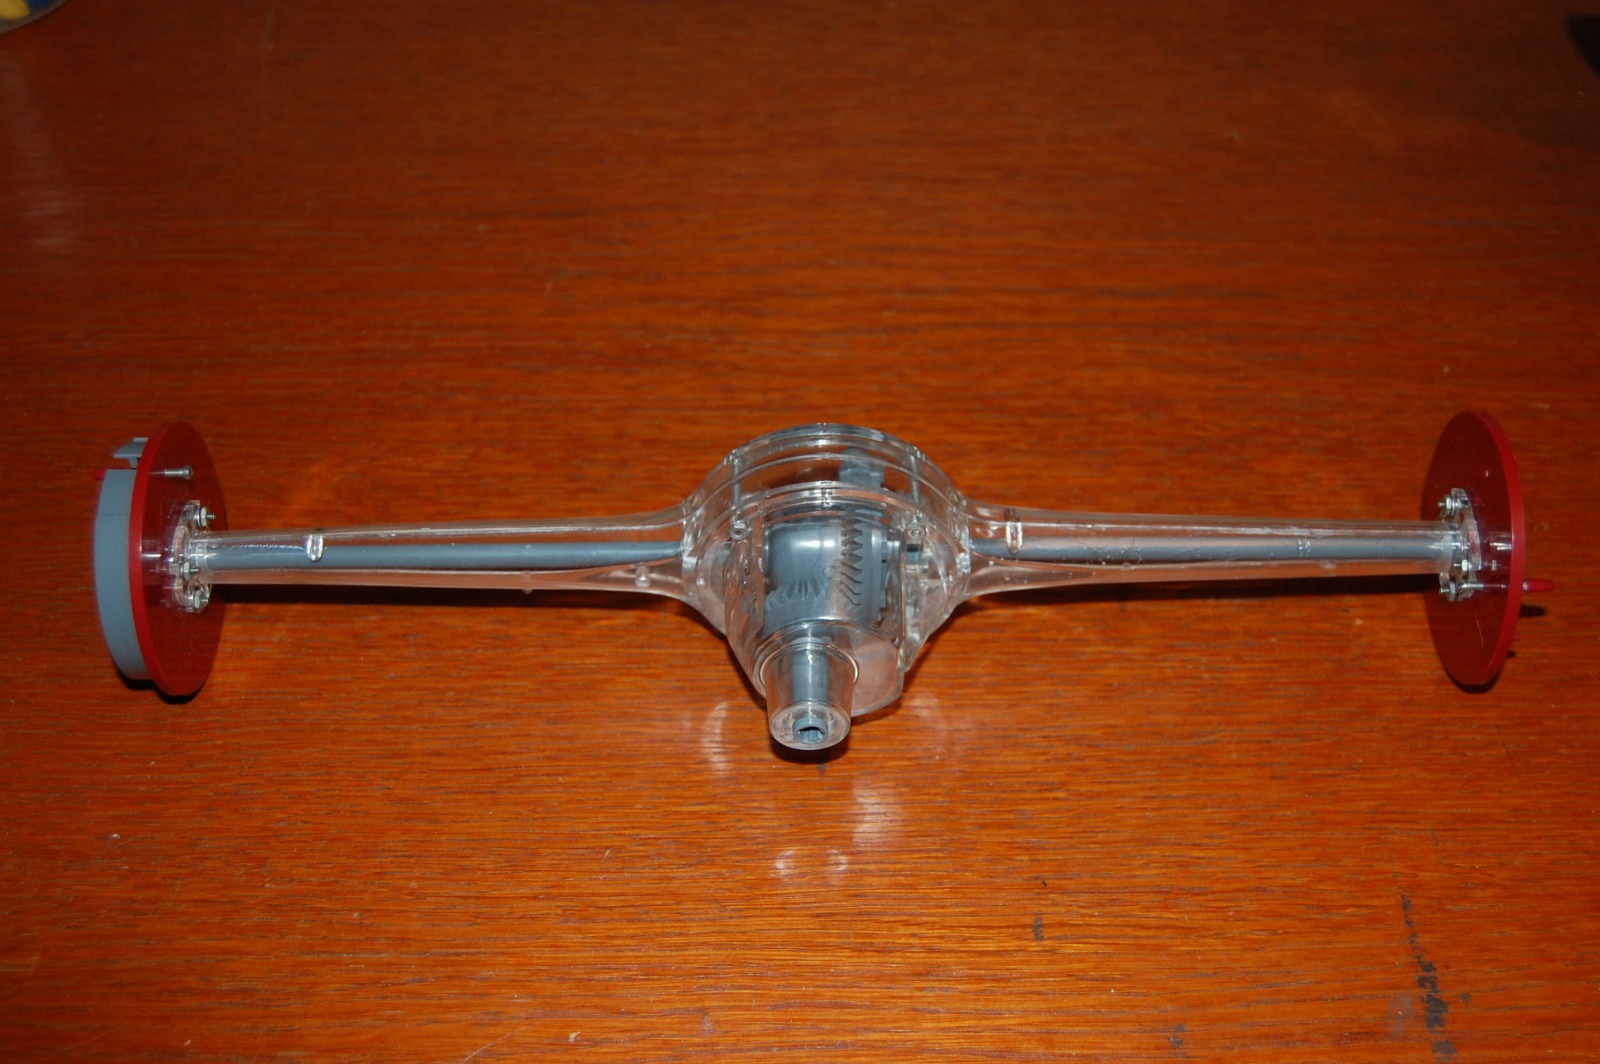
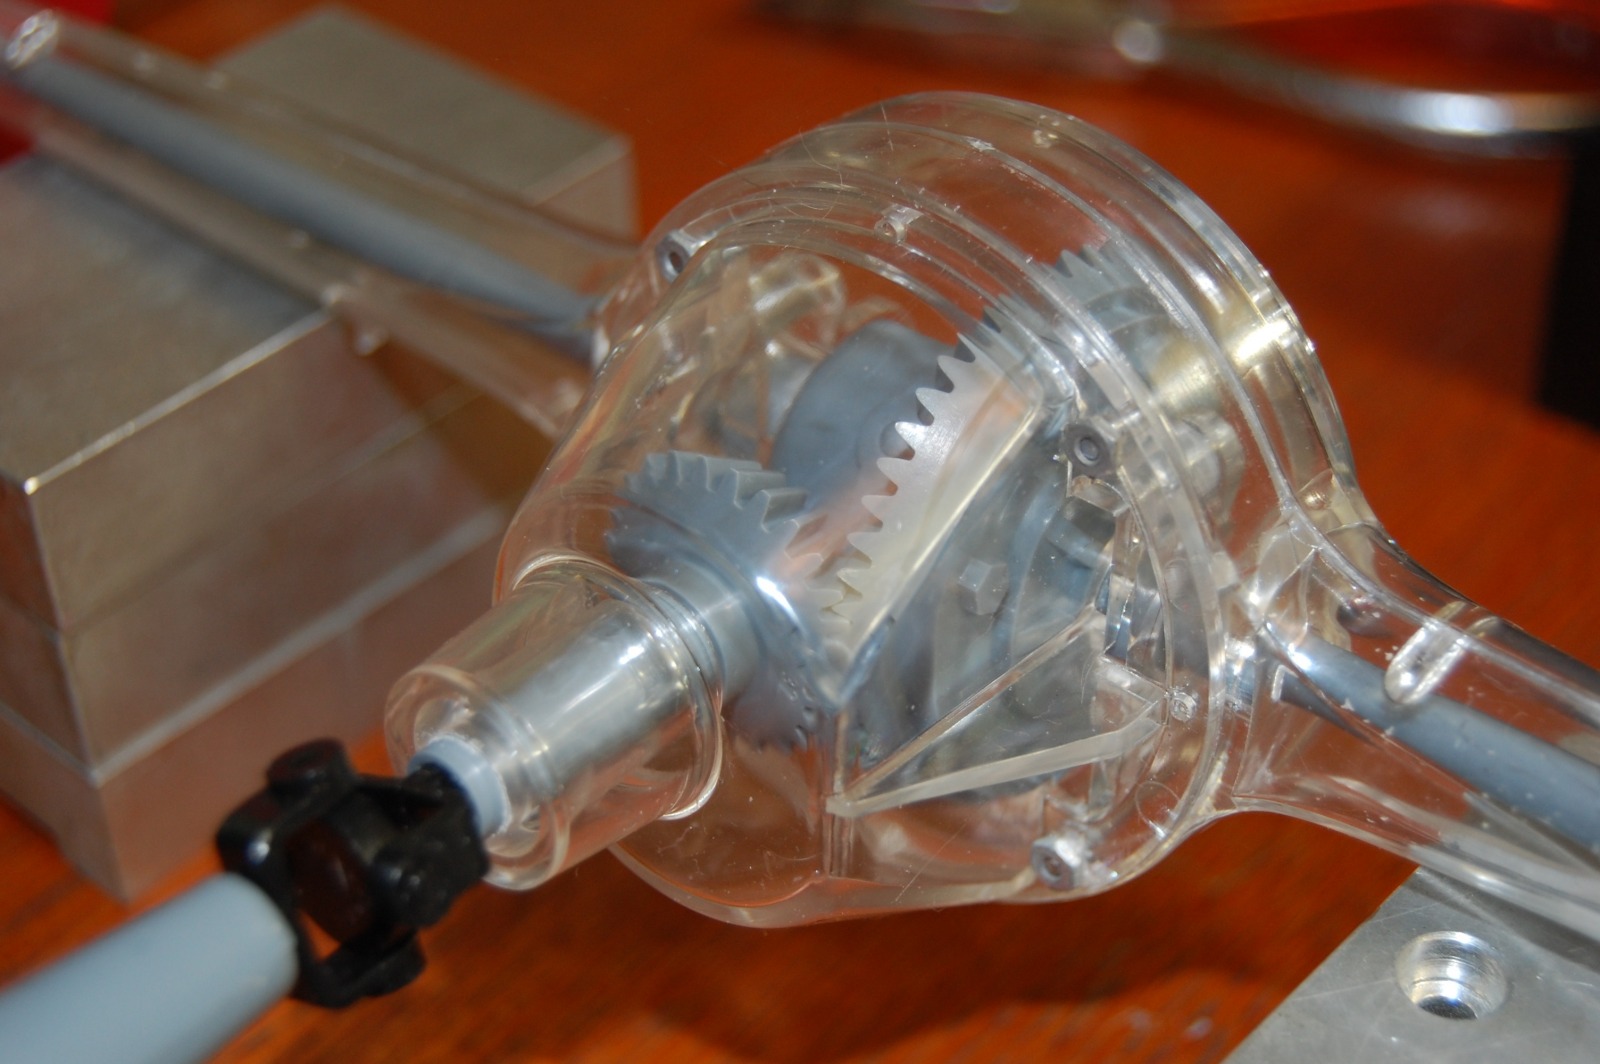
The finished rear axle with differential and a
first test set-up to check that everything worked properly
(click on the picture to open a large picture in a new window) |
 |
 |
 |
 |
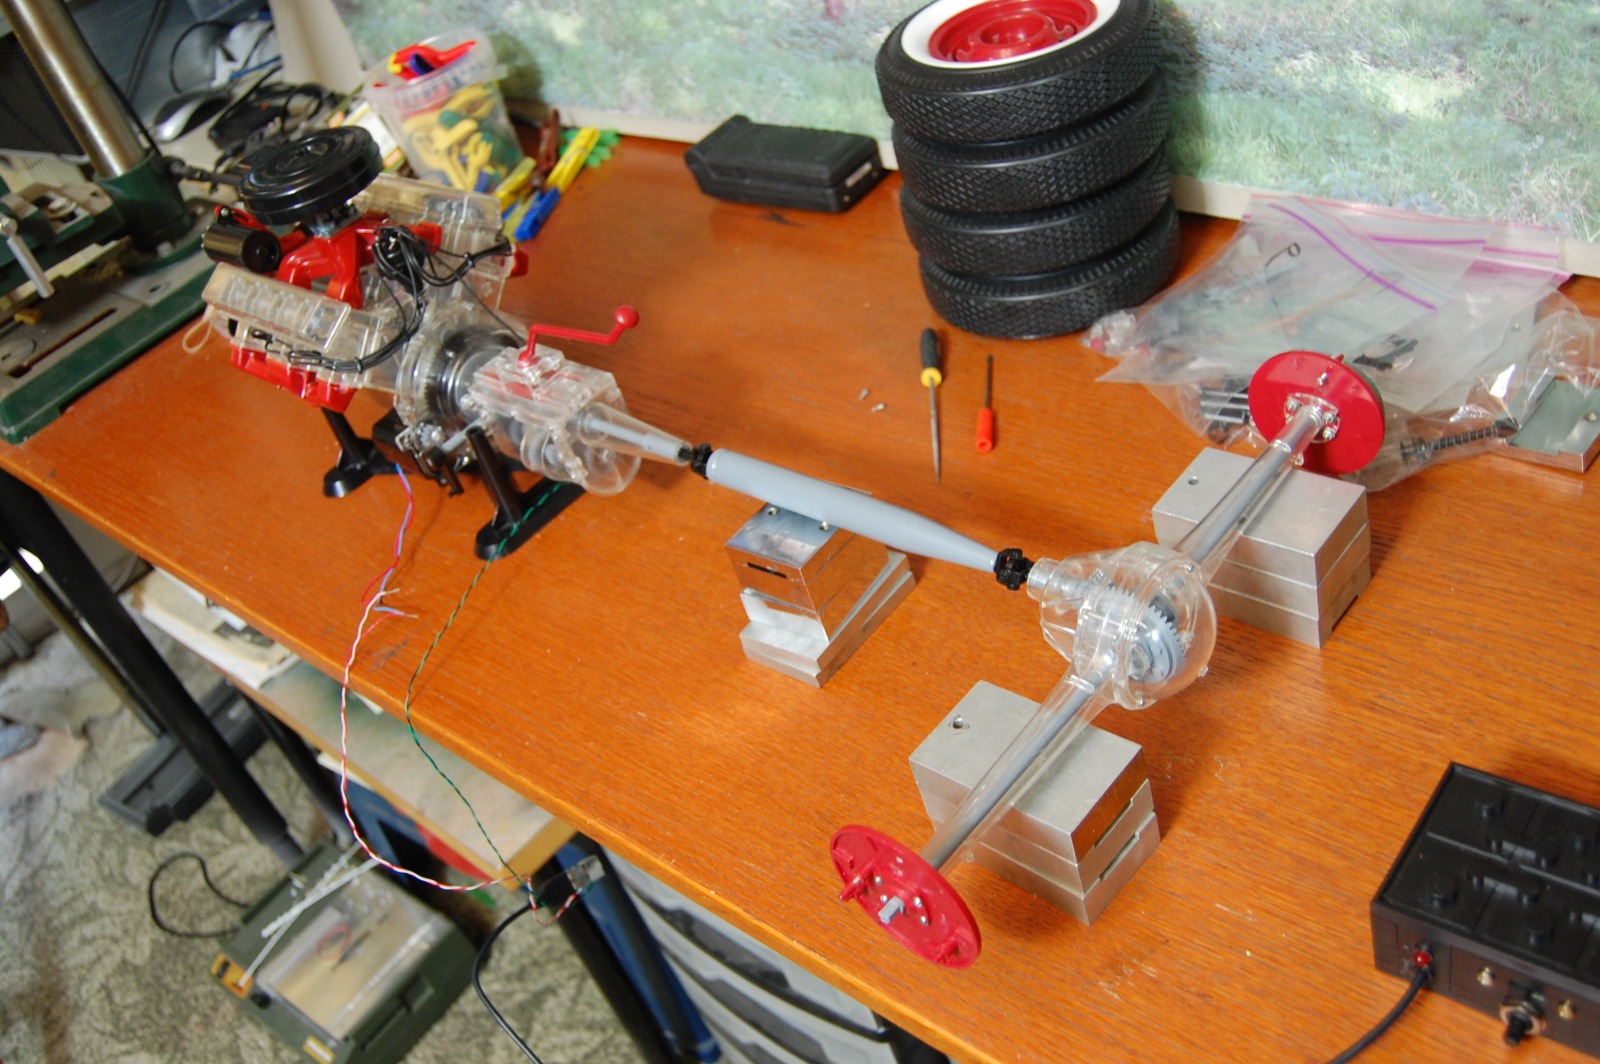
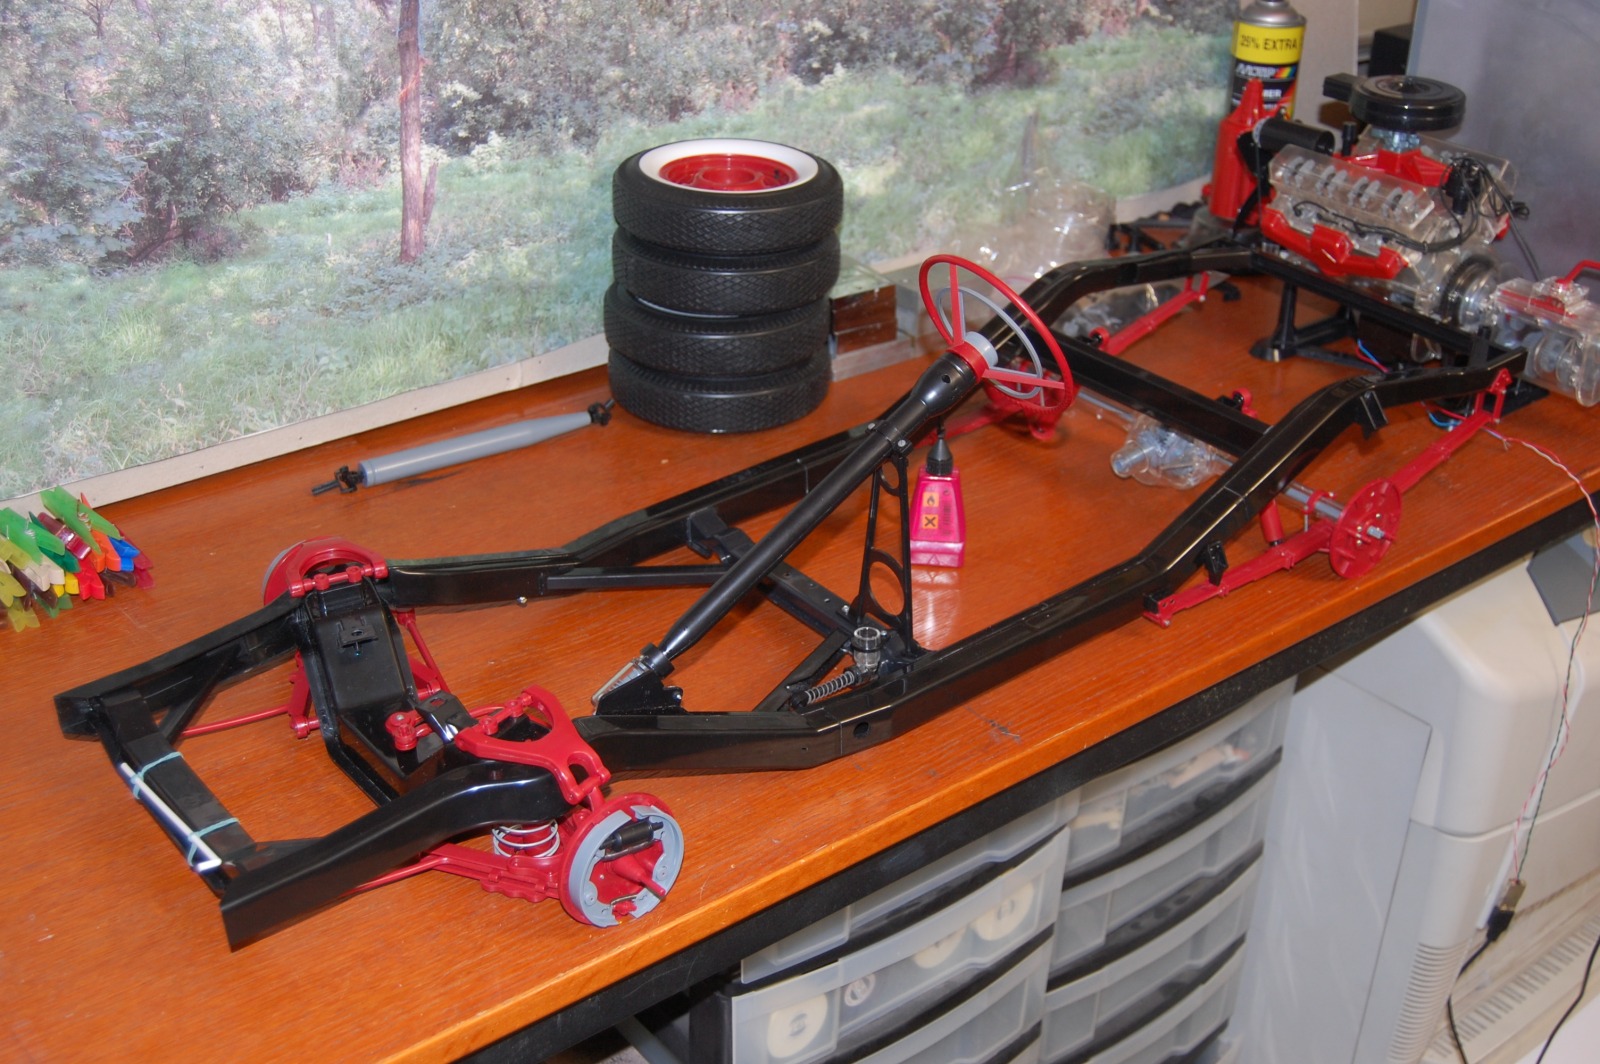
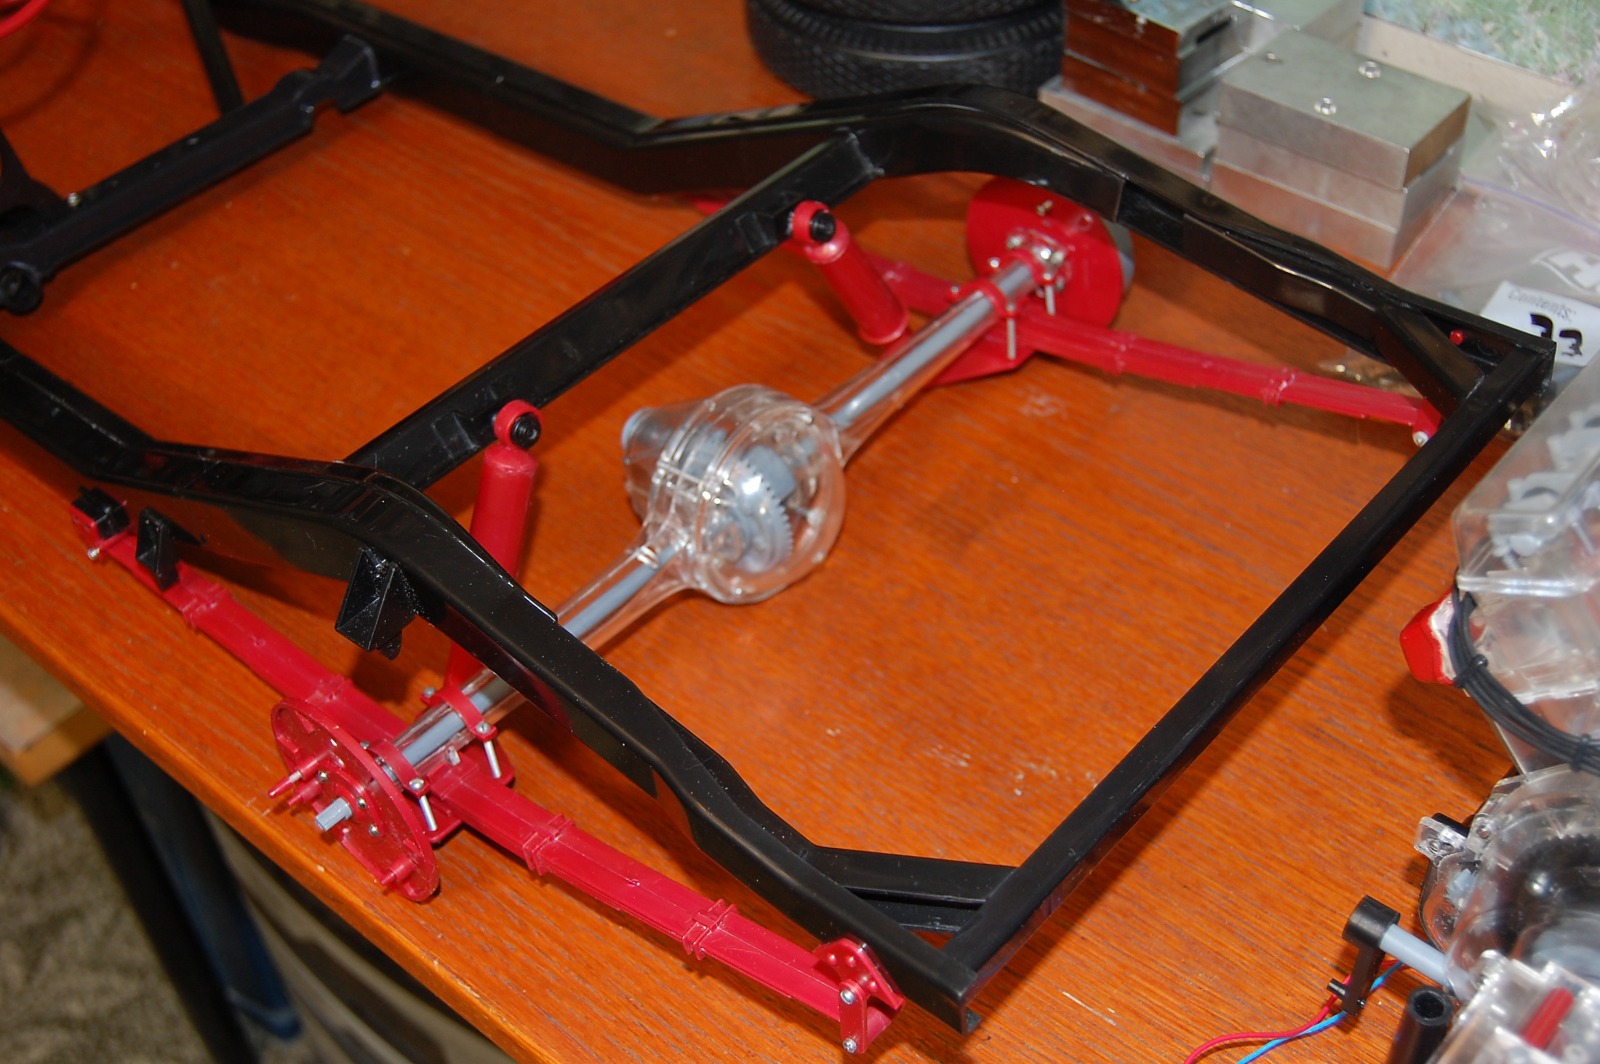
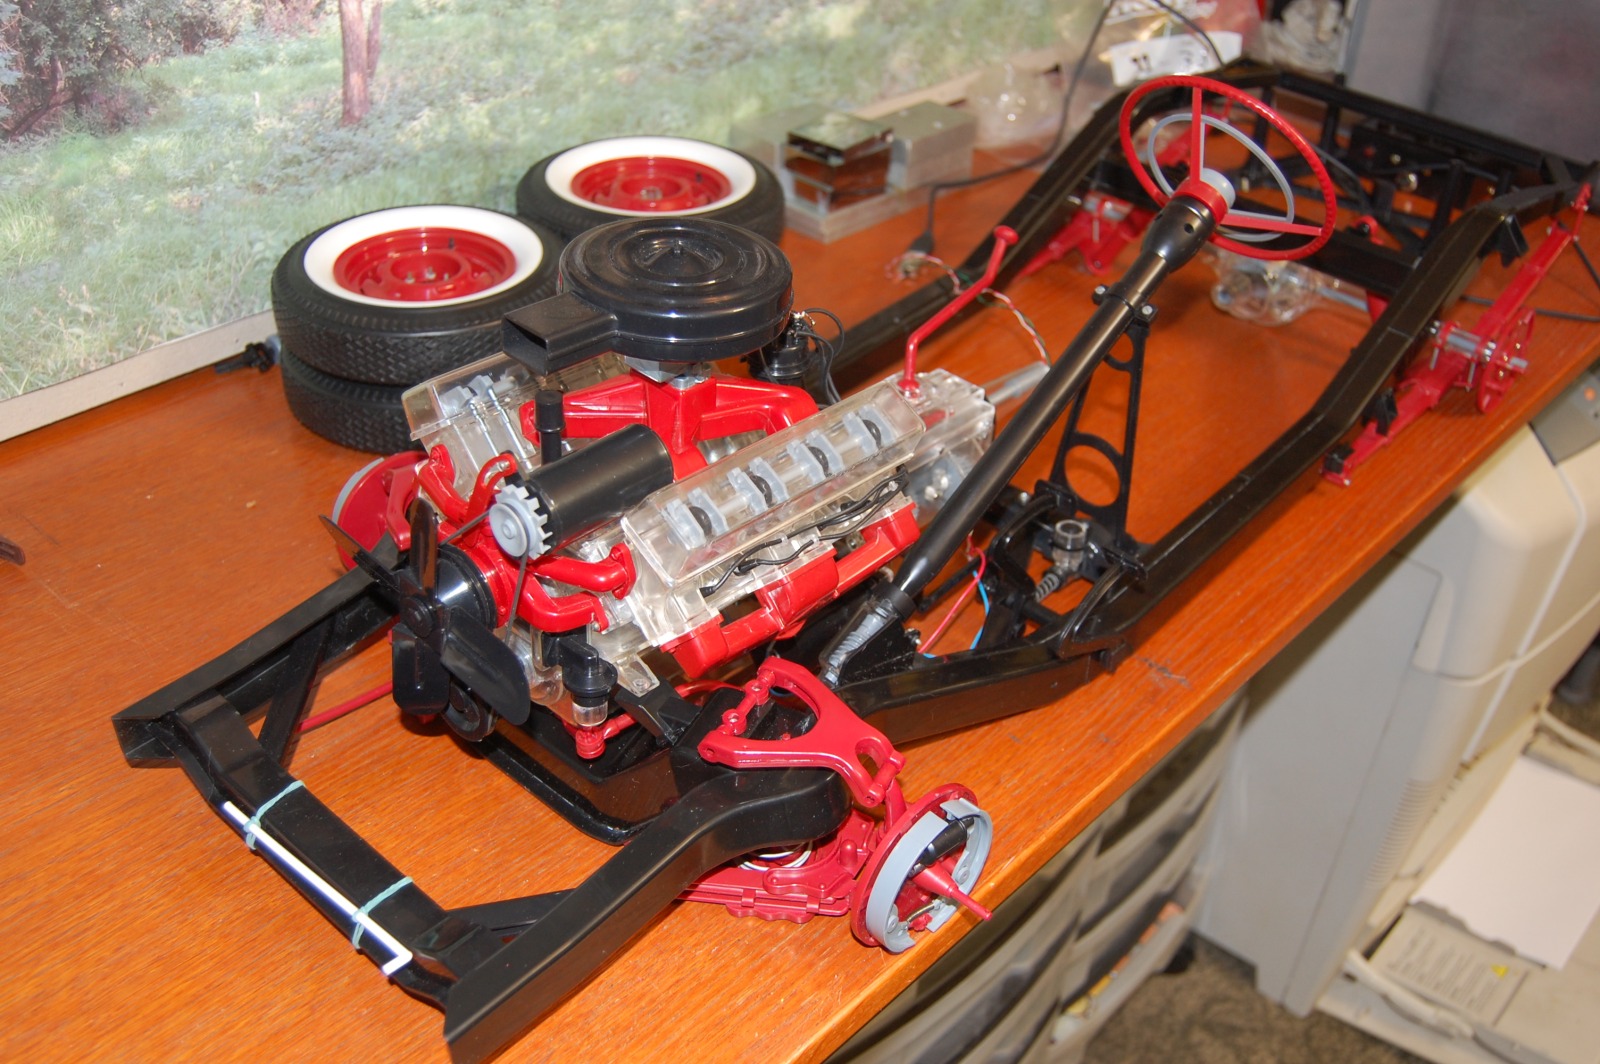
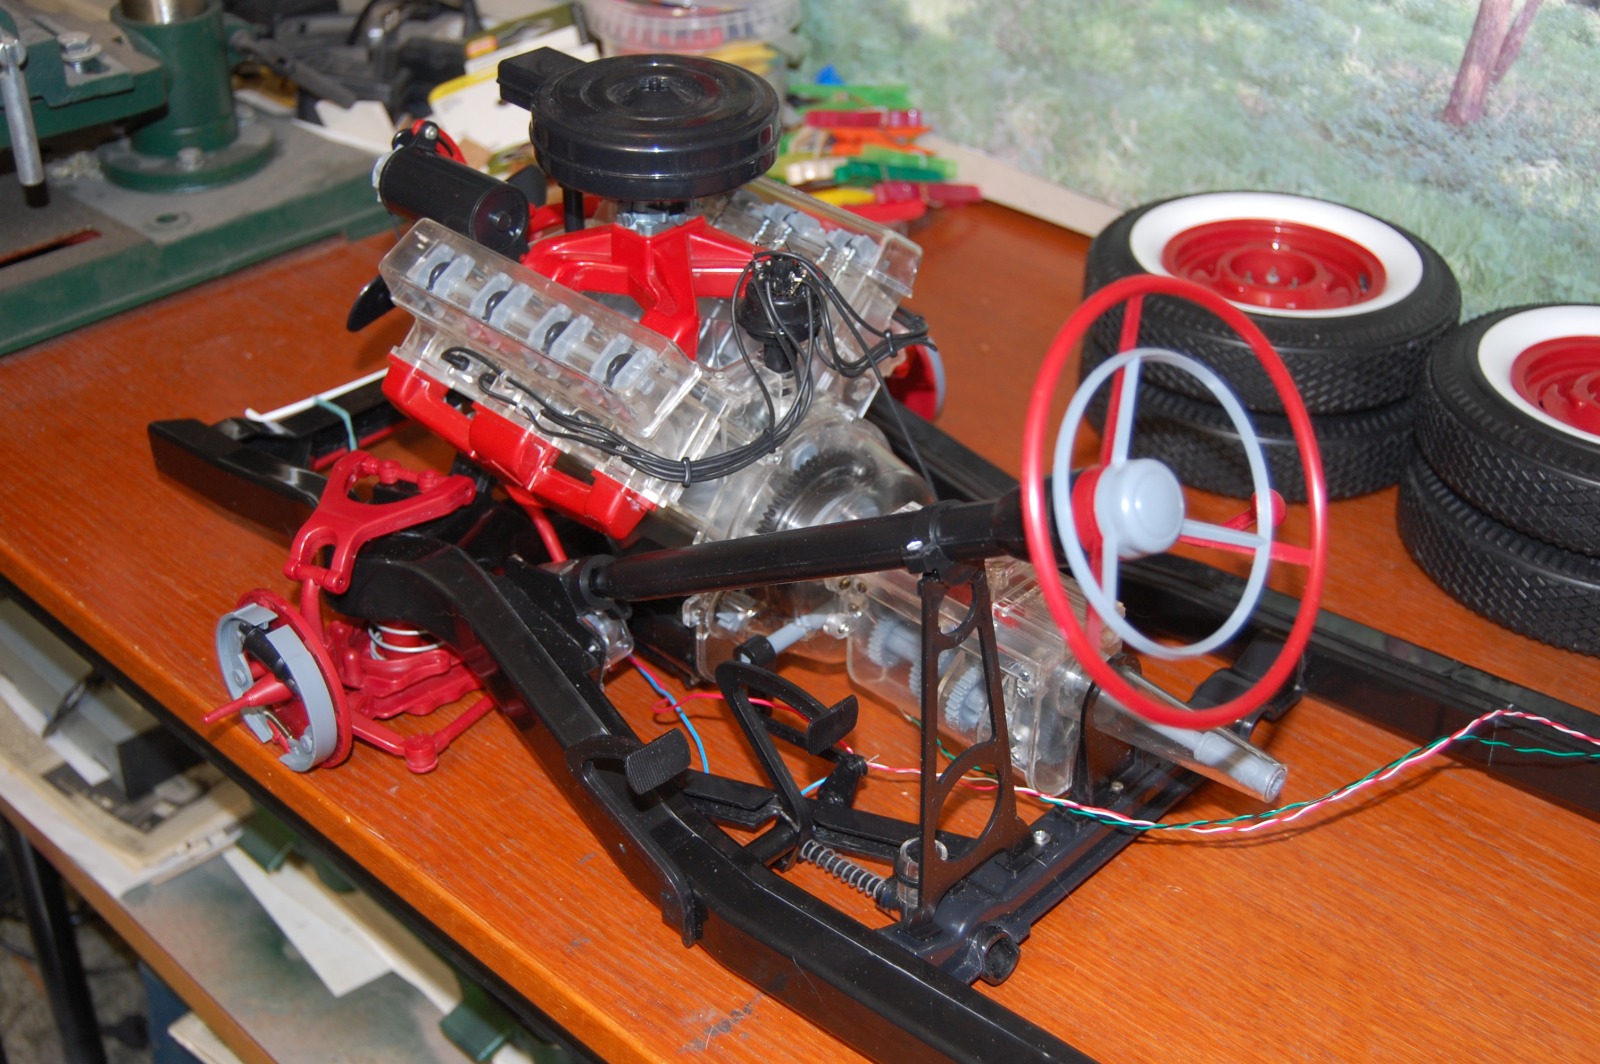
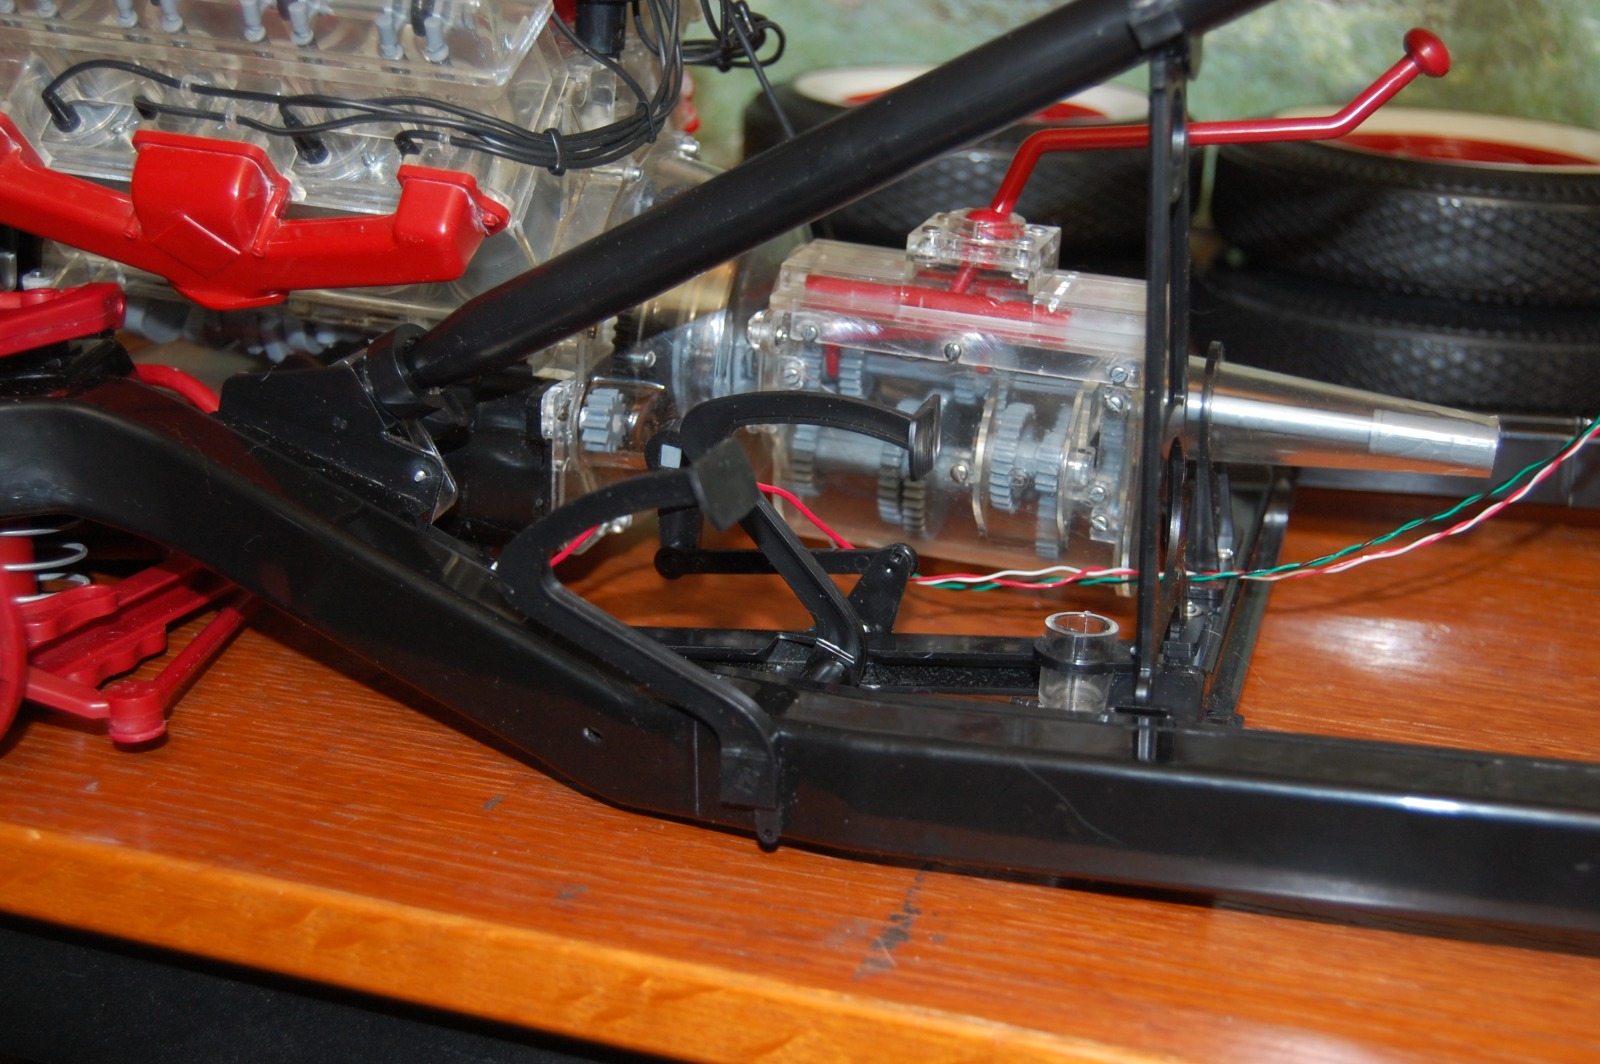
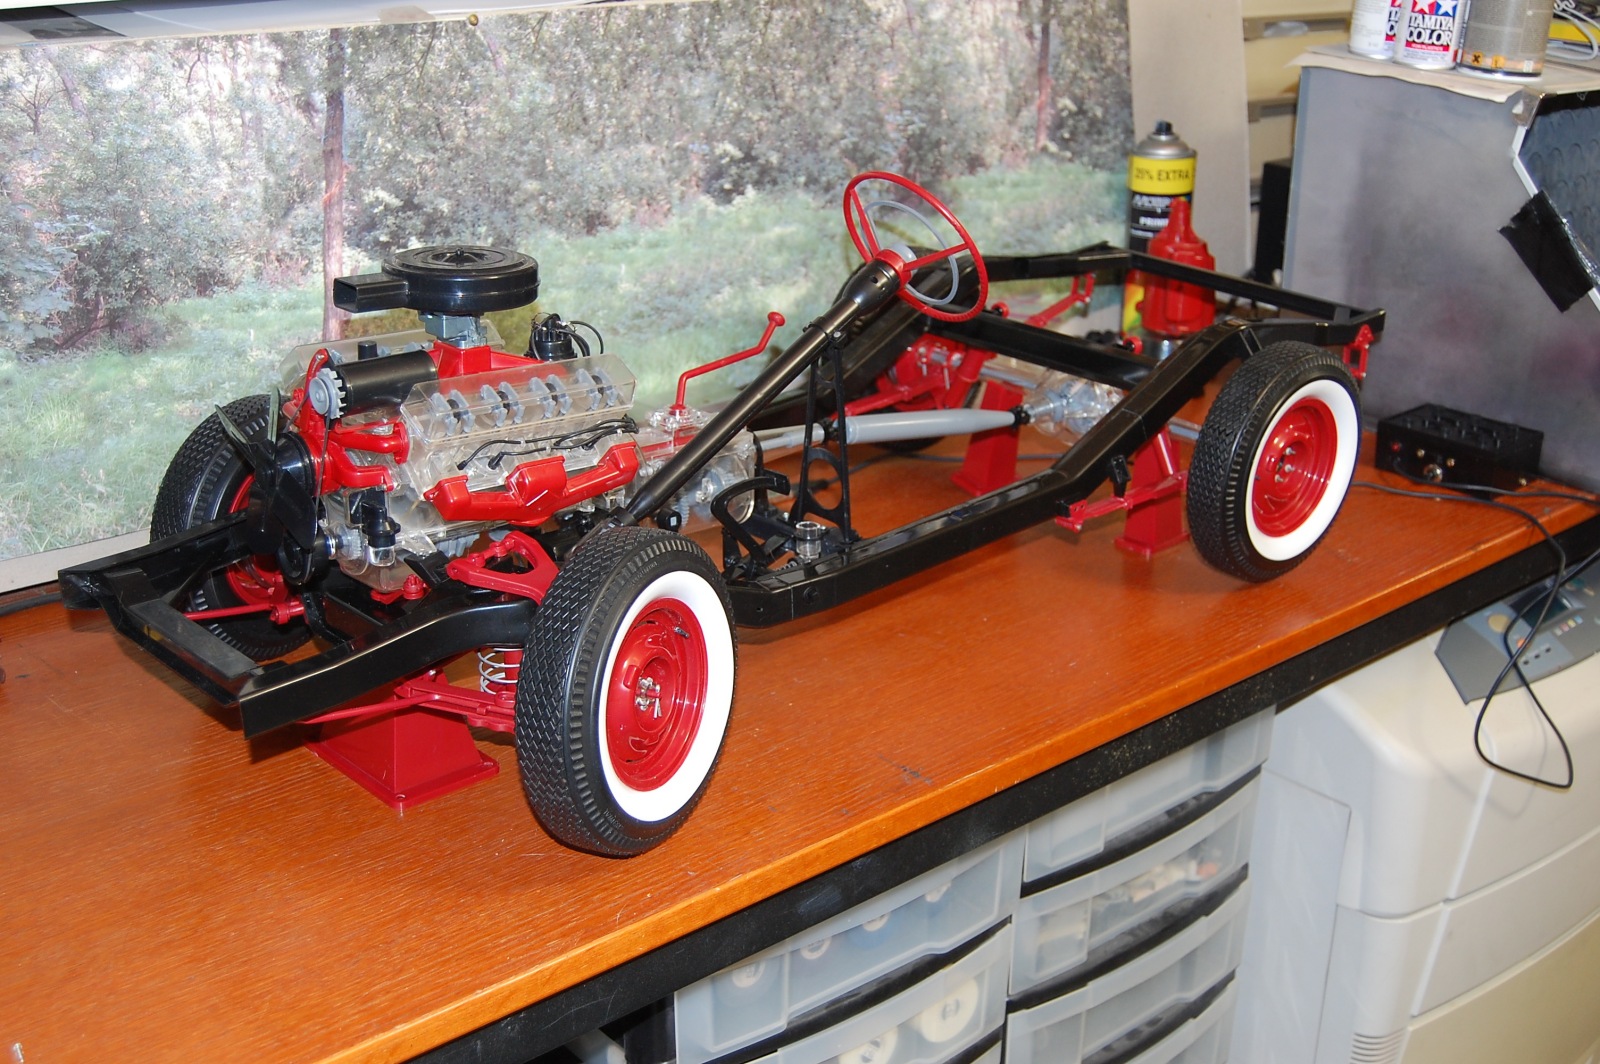
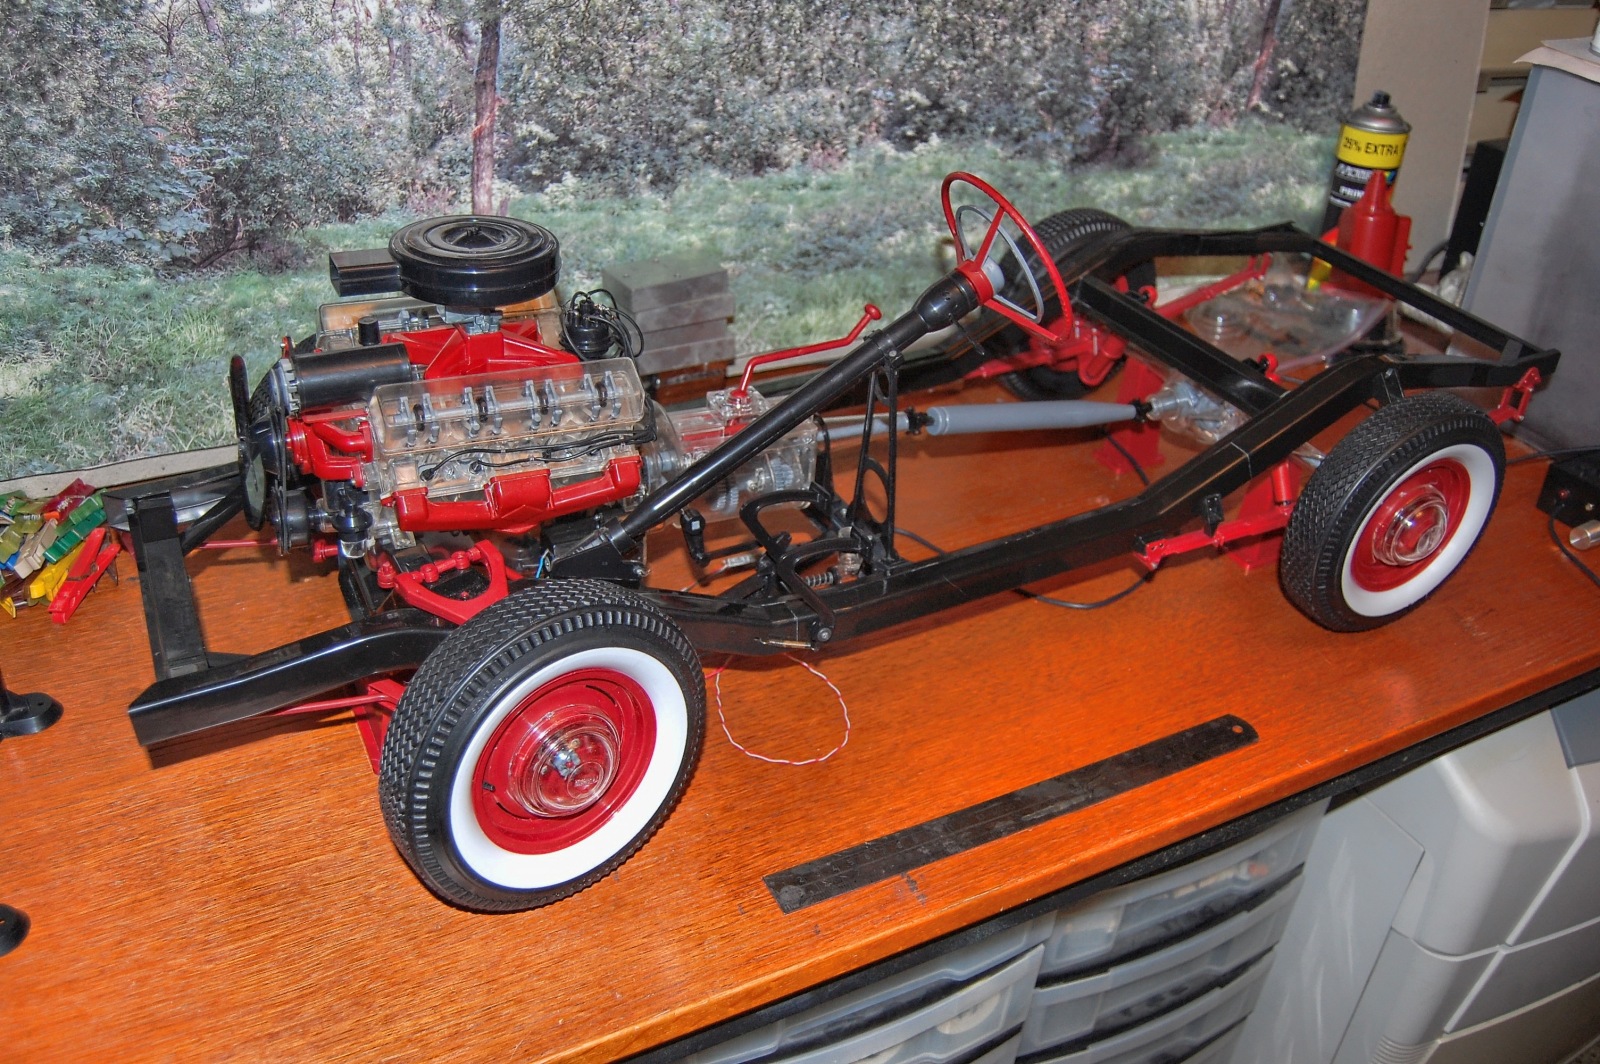
A few pictures of the final assembly stages.
(click on the picture to open a large picture in a new window) |
 |
 |
 |
 |
 |
 |
 |
The problem with a kit of this size (95 centimeters
long, 40 centimeters wide and 32 centimeters high) is that there is
no ready-made showcase available. I had one made and if you think
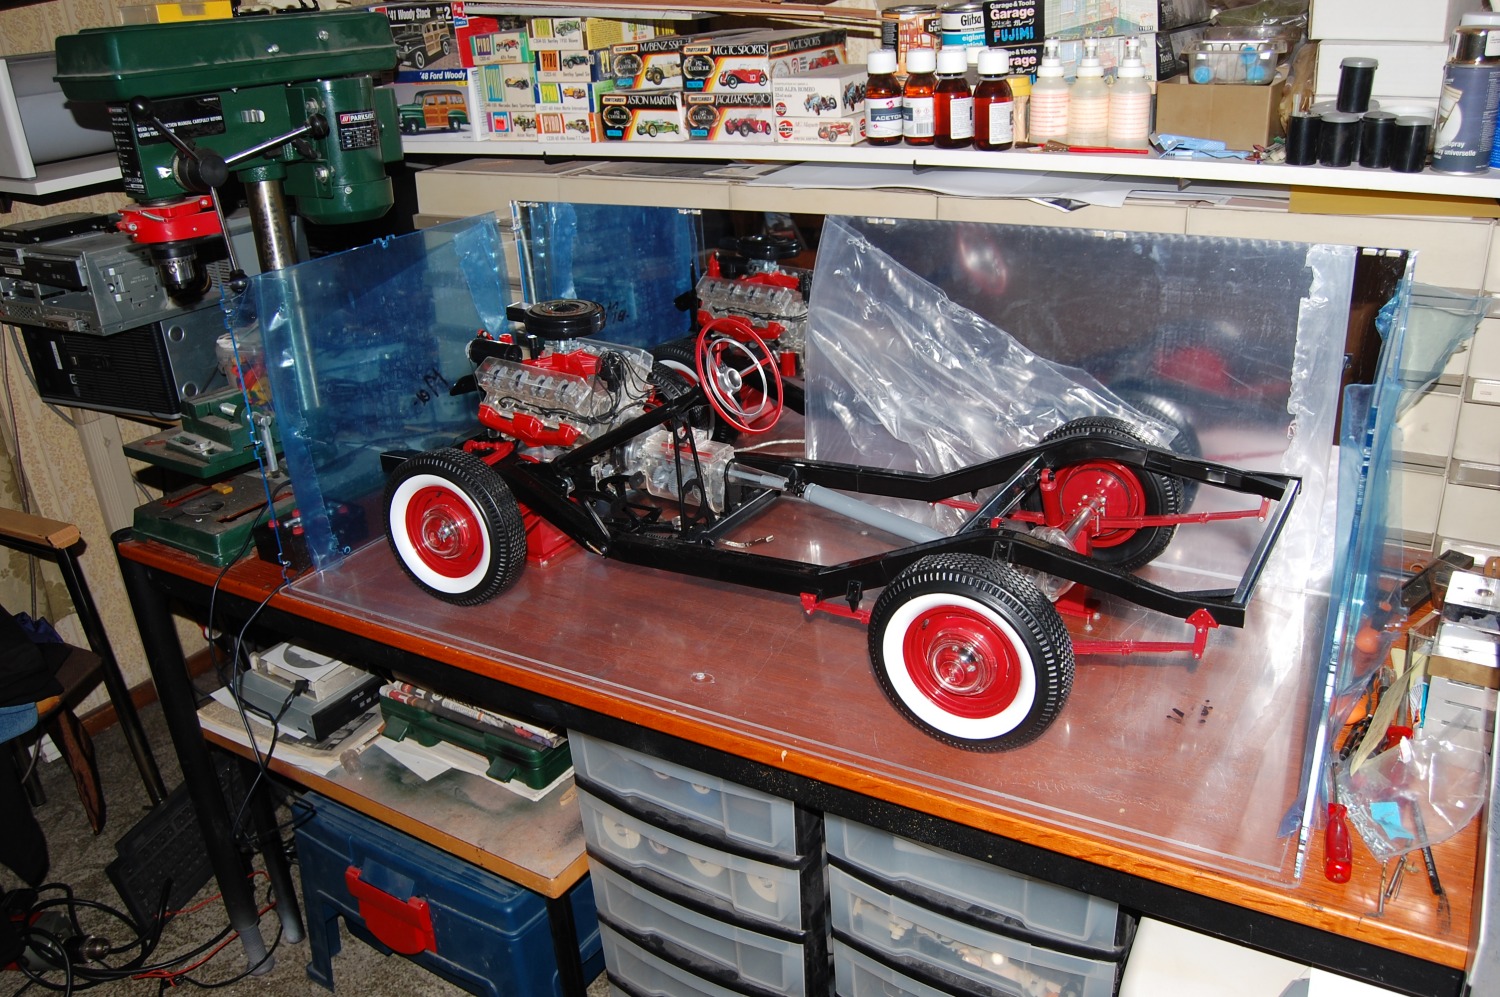
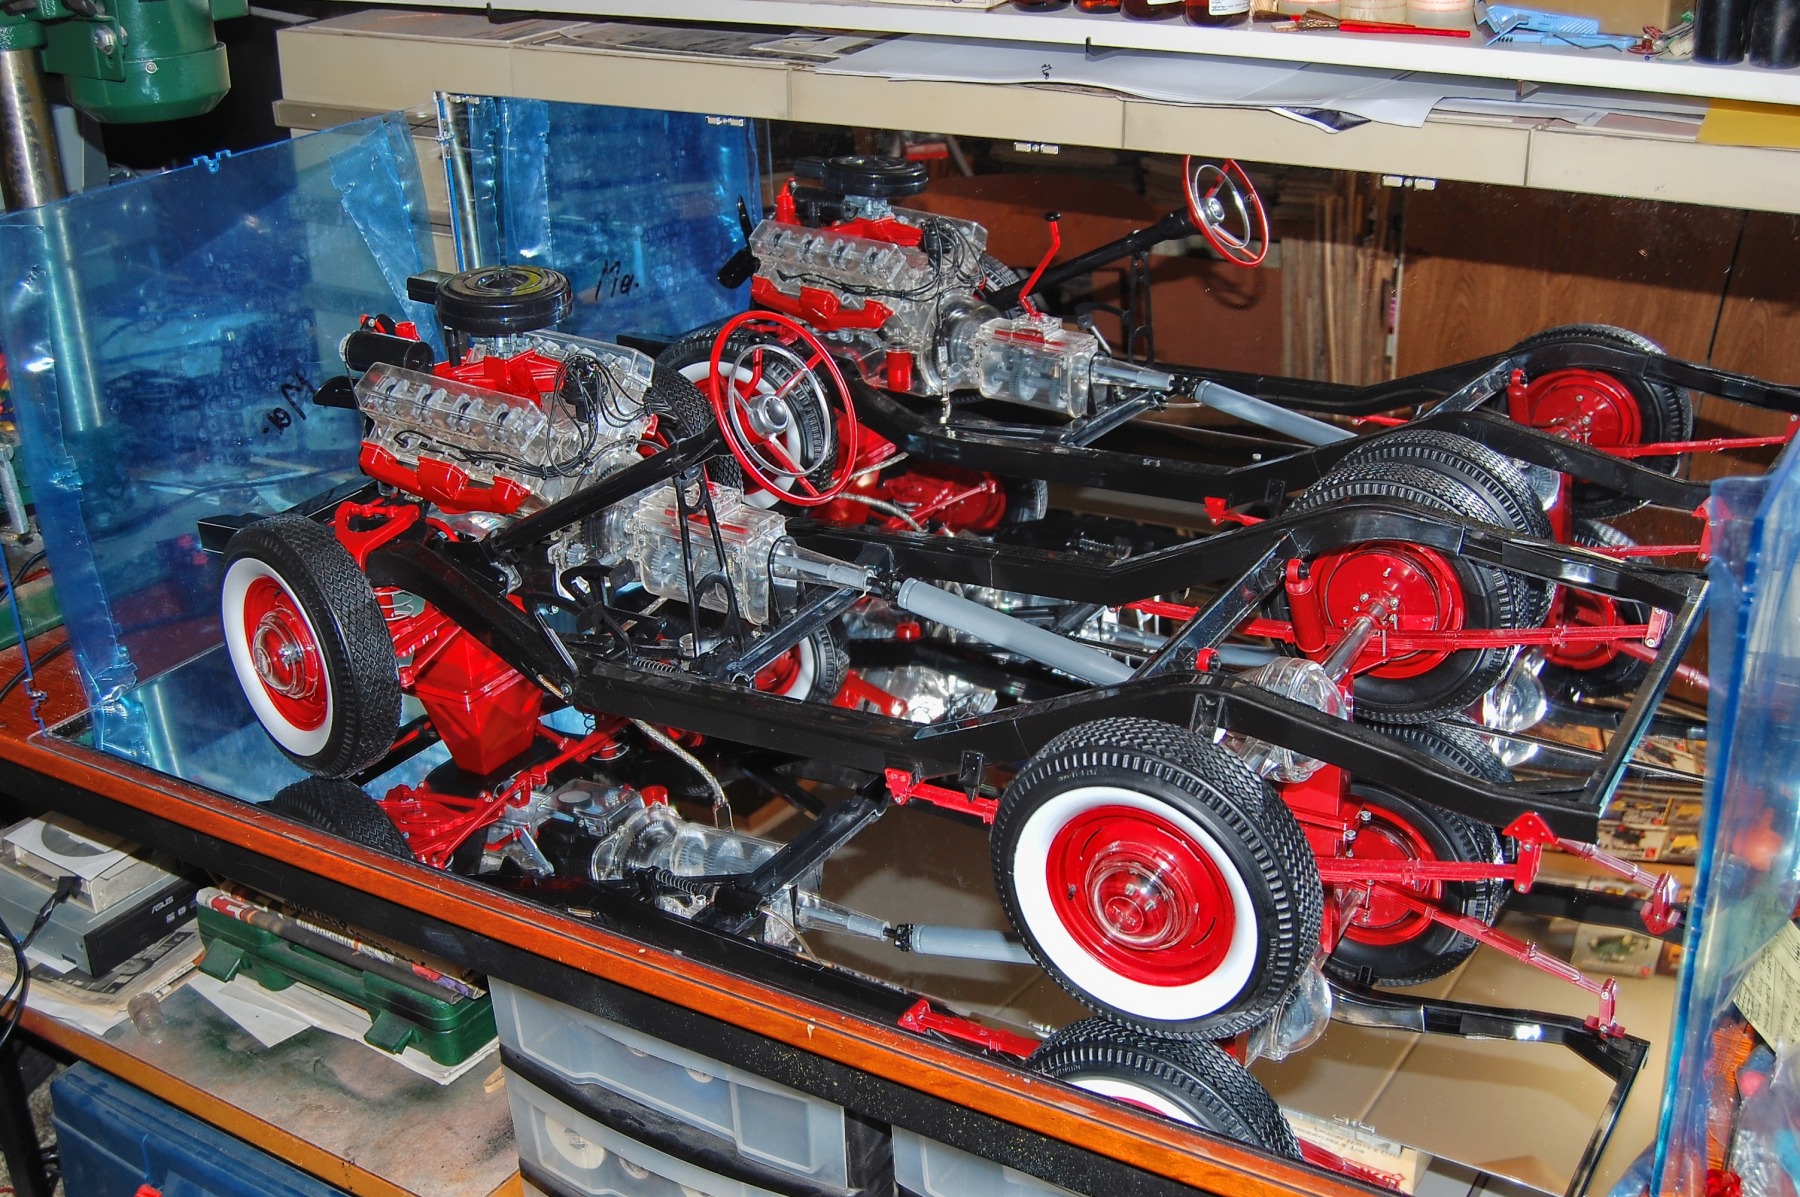
the kit is big, well, the showcase is really big! Here is a picture
of the first test mock-up to get the position of the front and rear chassis stand right.
(click on the picture to open a large picture in a new window) |
 |
 |
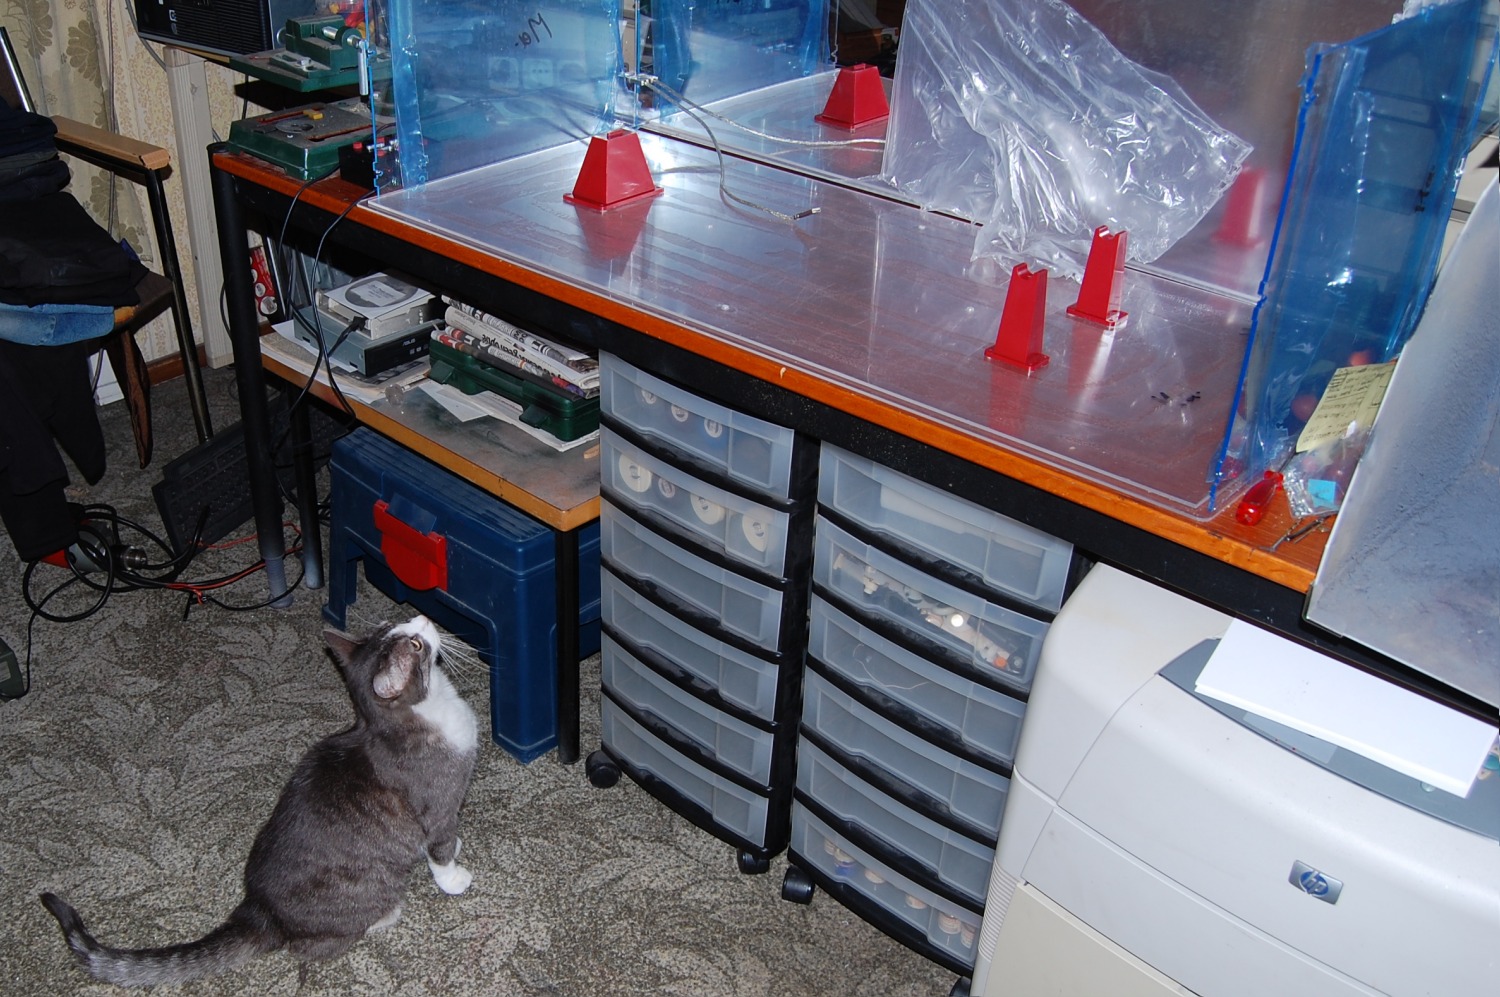
The construction of the showcase got a lot of
attention.
(click on the picture to open a large picture in a new window) |
 |
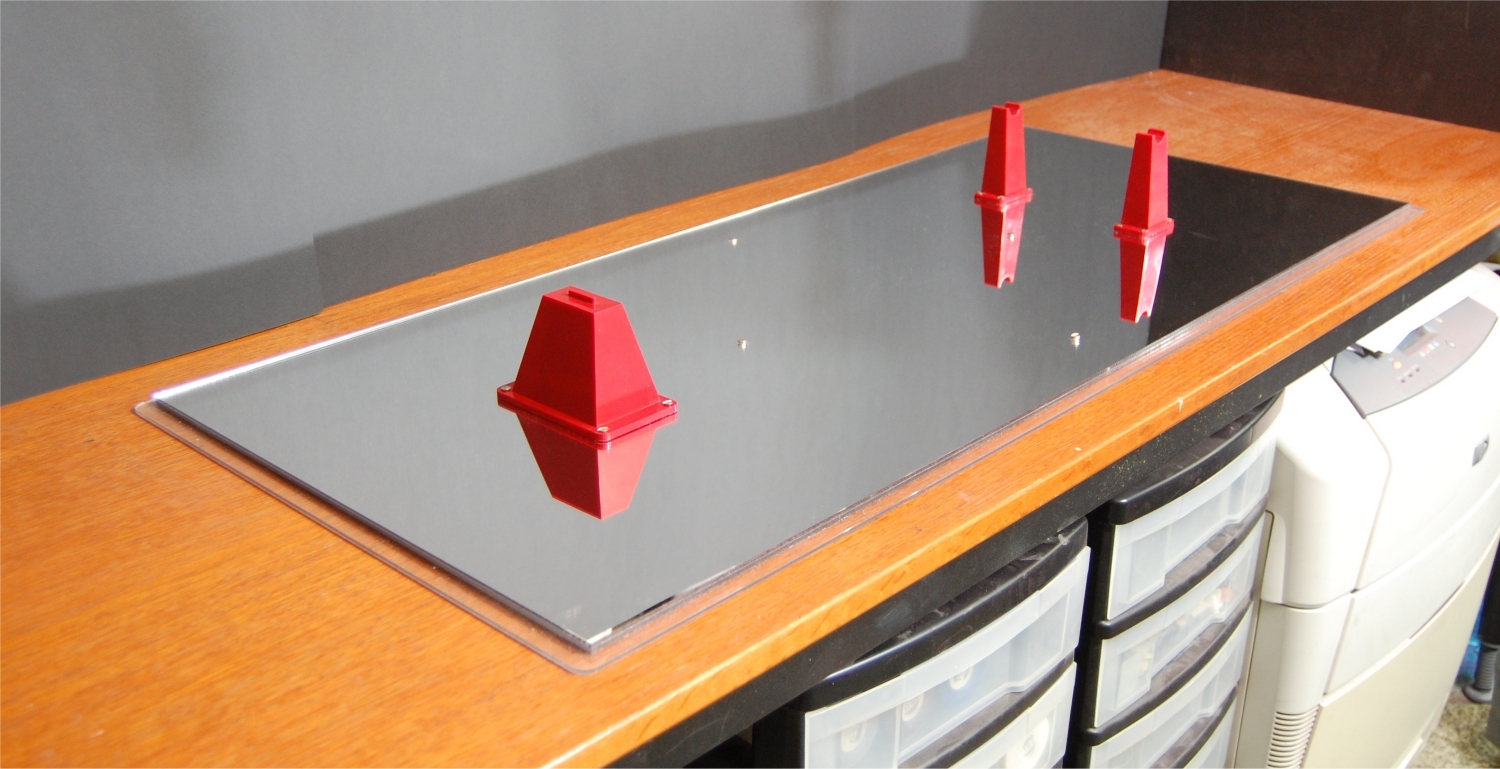
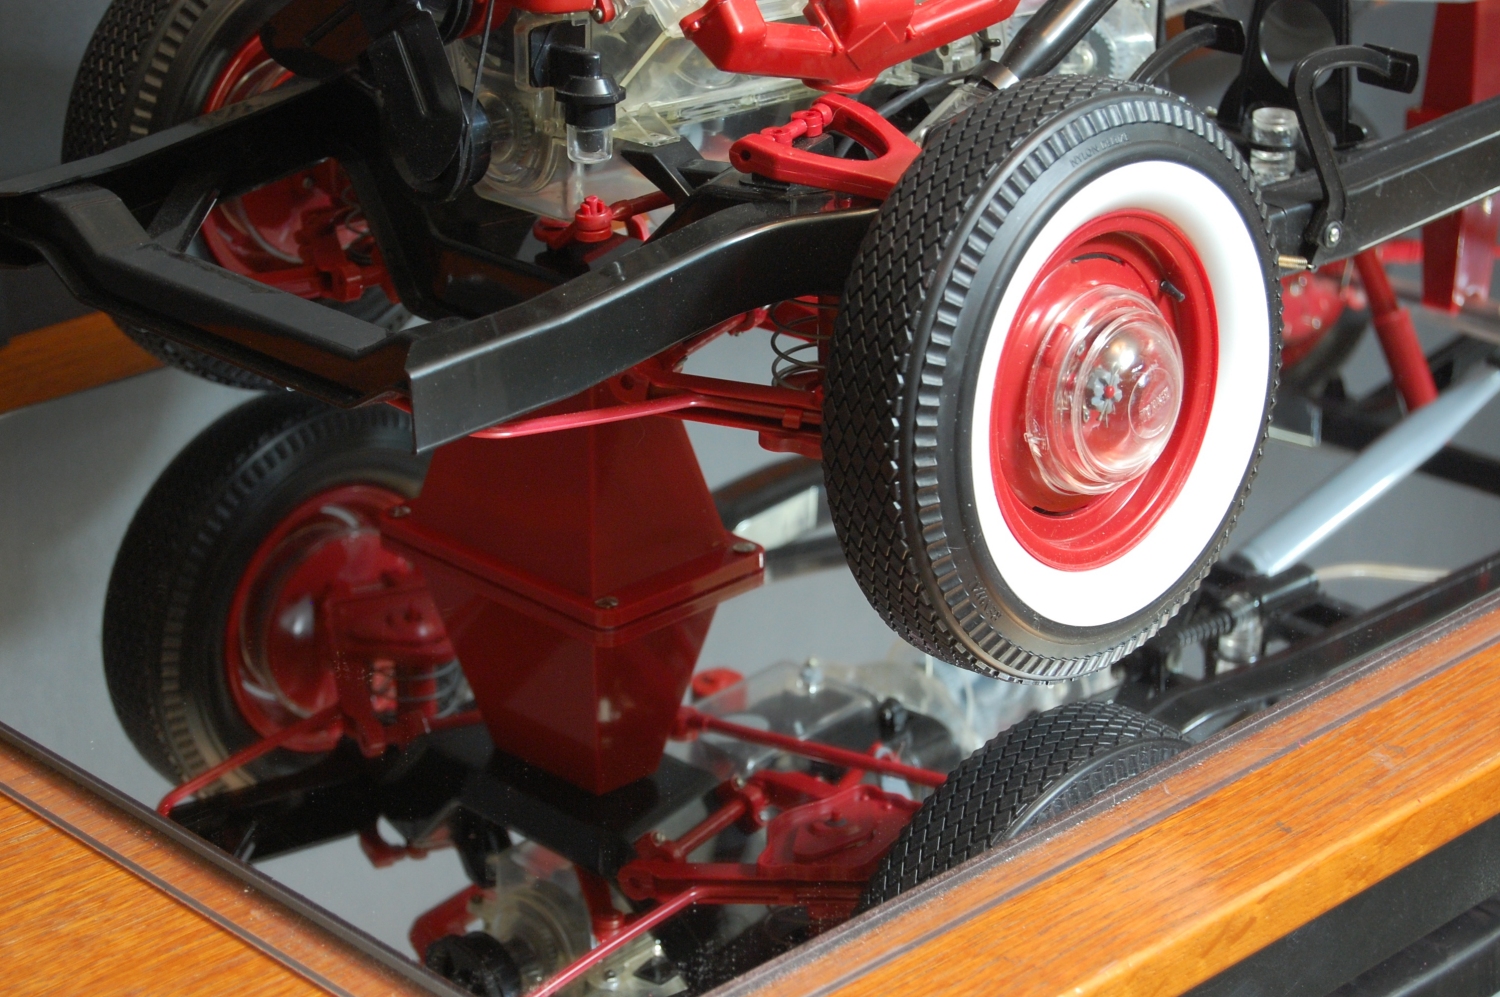
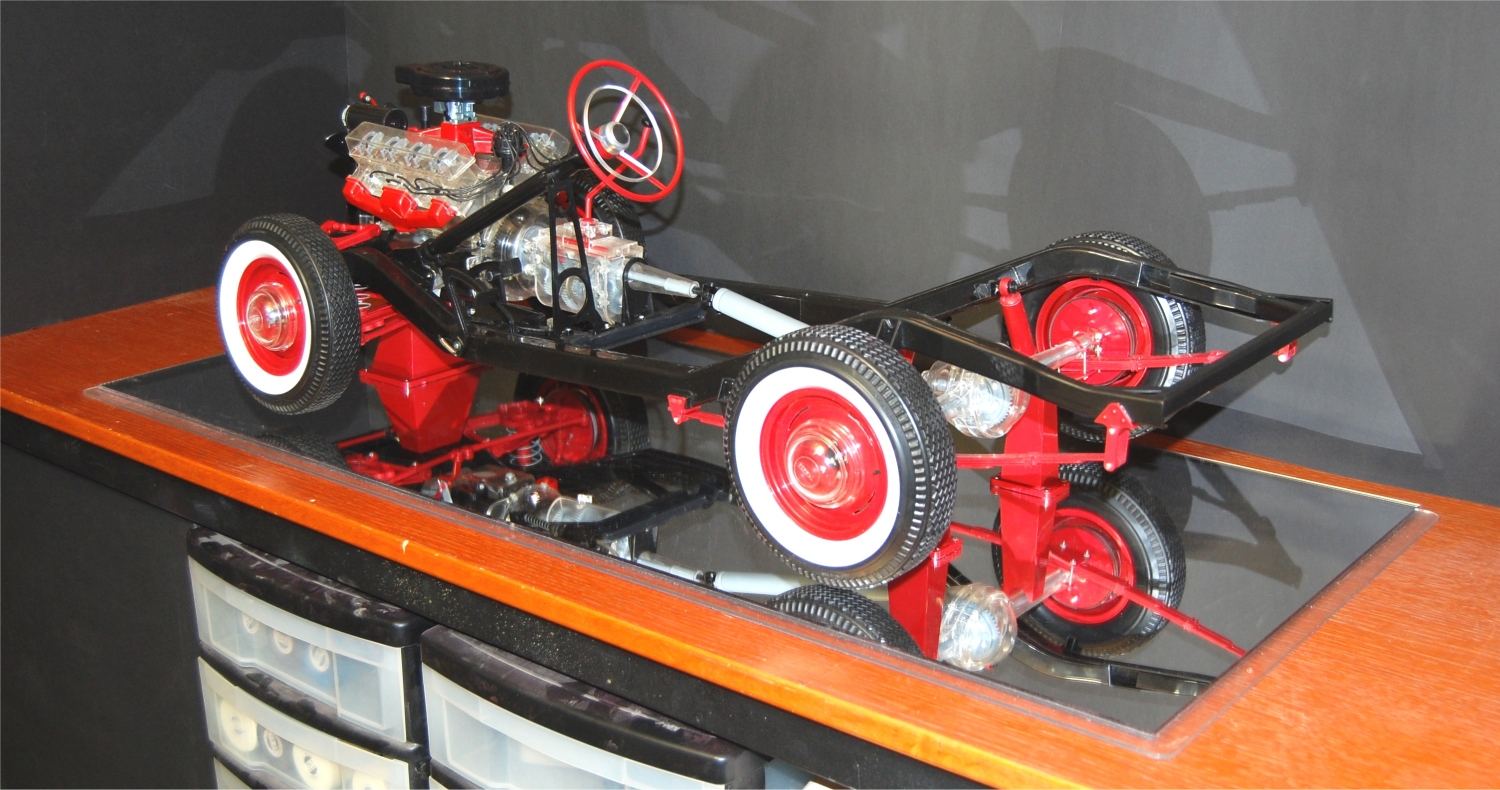
Here are some more pictures. On the first picture you can see the base, which is
made of three pieces of perspex. The first piece is slightly larger
so the cover will rest on it. The second piece fits inside the cover
and is glued to the first piece. On top of that is the third piece
of perspex, the mirror. This piece could not be glued because the
glue would destroy the mirror layer and was mounted to the other two
pieces with a total of 16 nuts and bolts. This will also give the
base extra strenght for handling.
(click on the picture to open a large picture in a new window) |
 |
 |
 |
 |
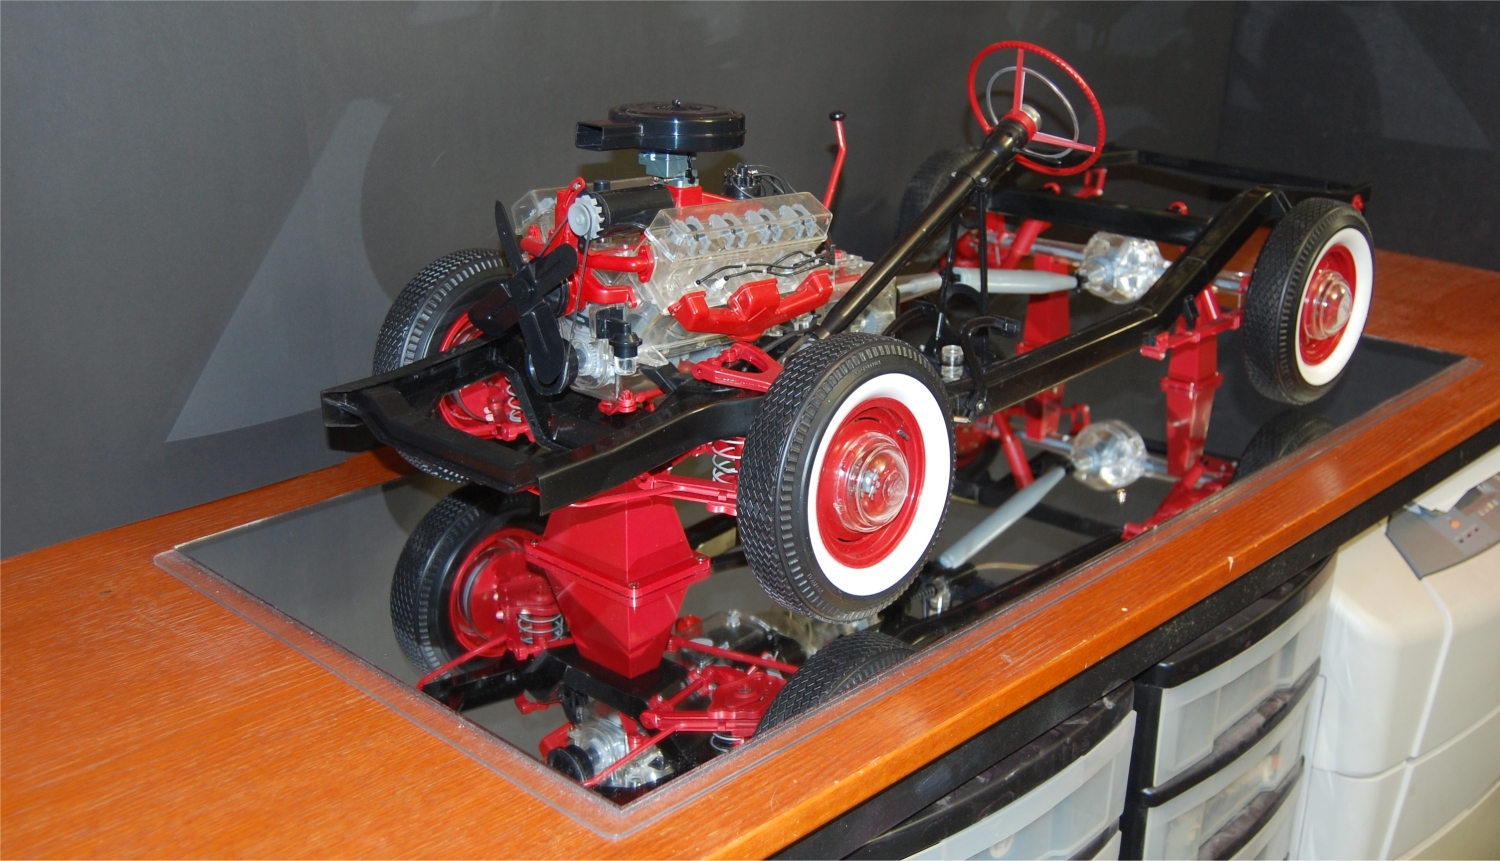
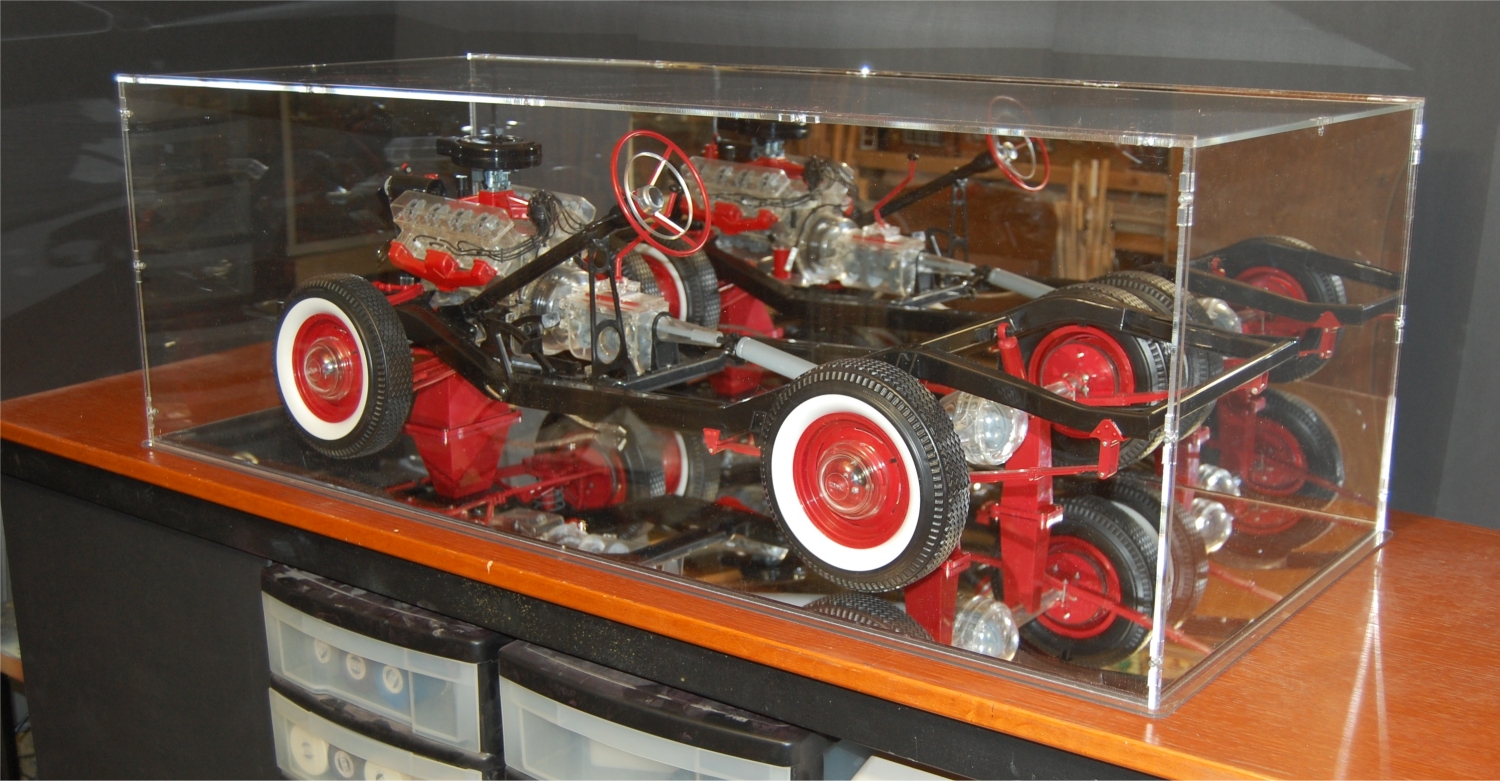
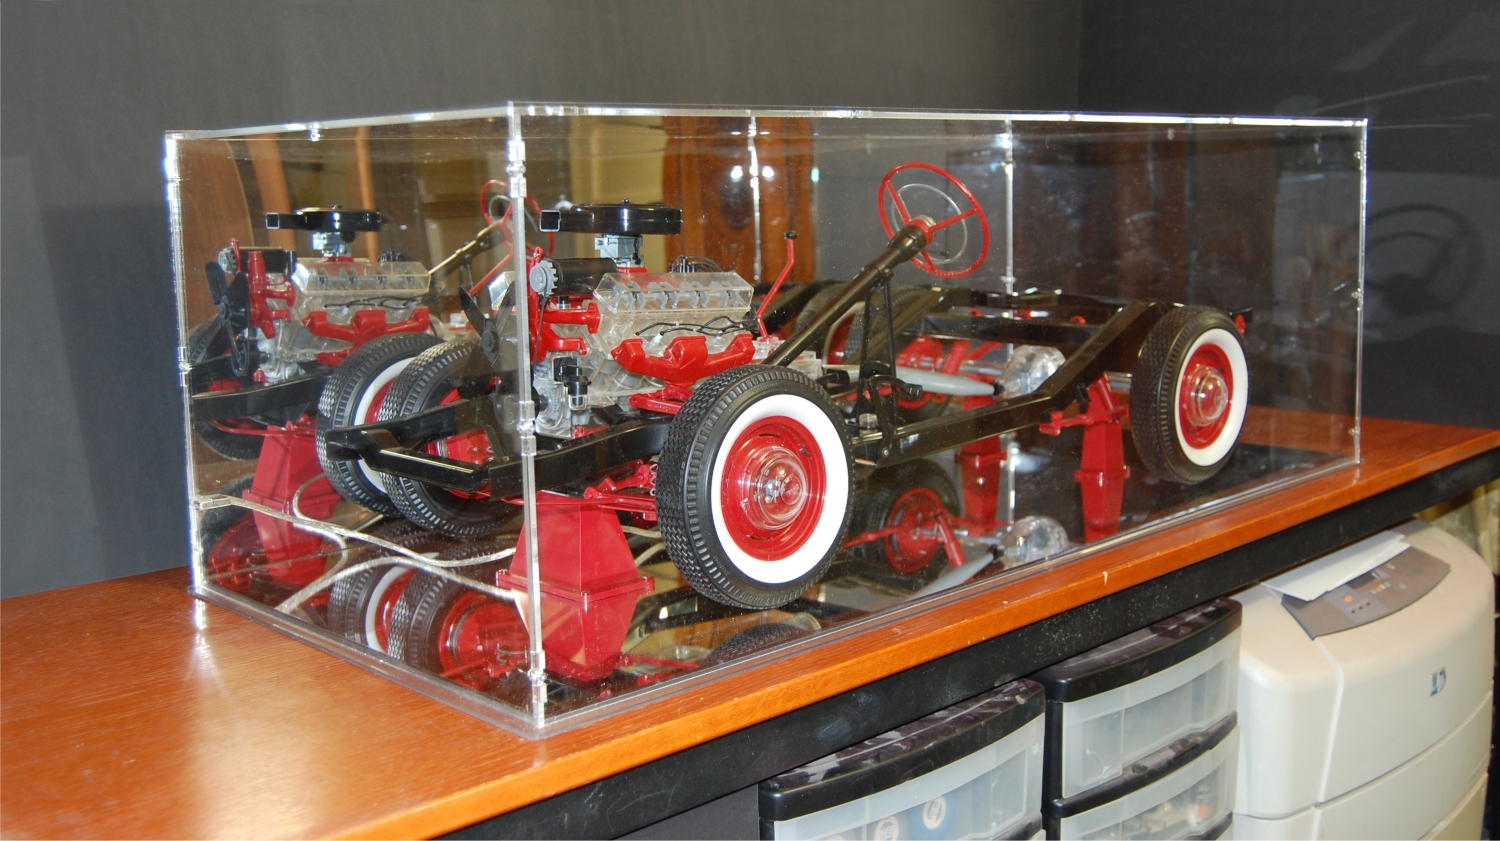
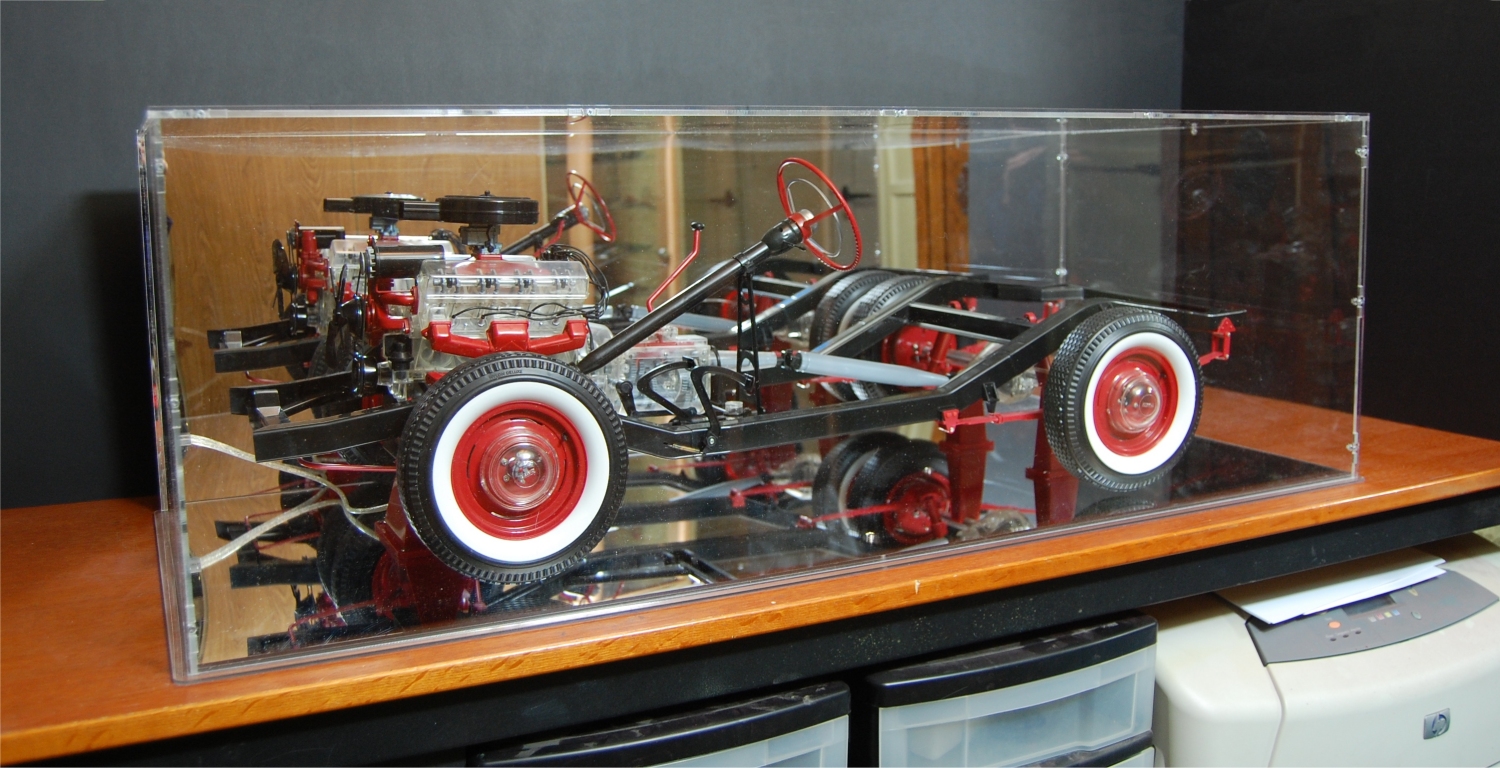
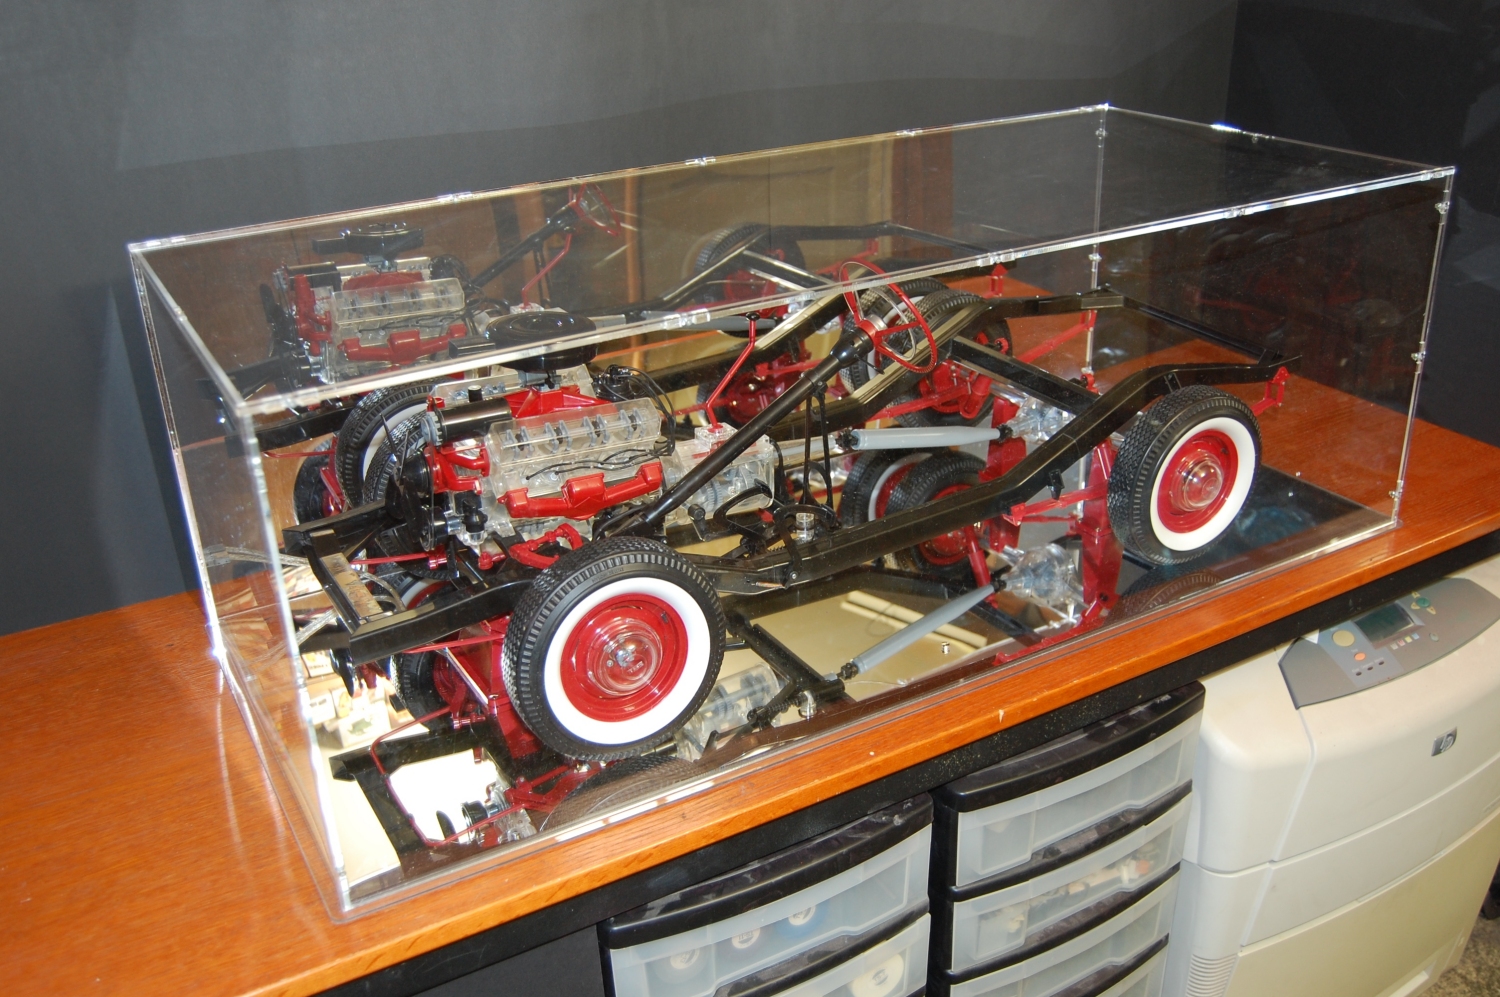
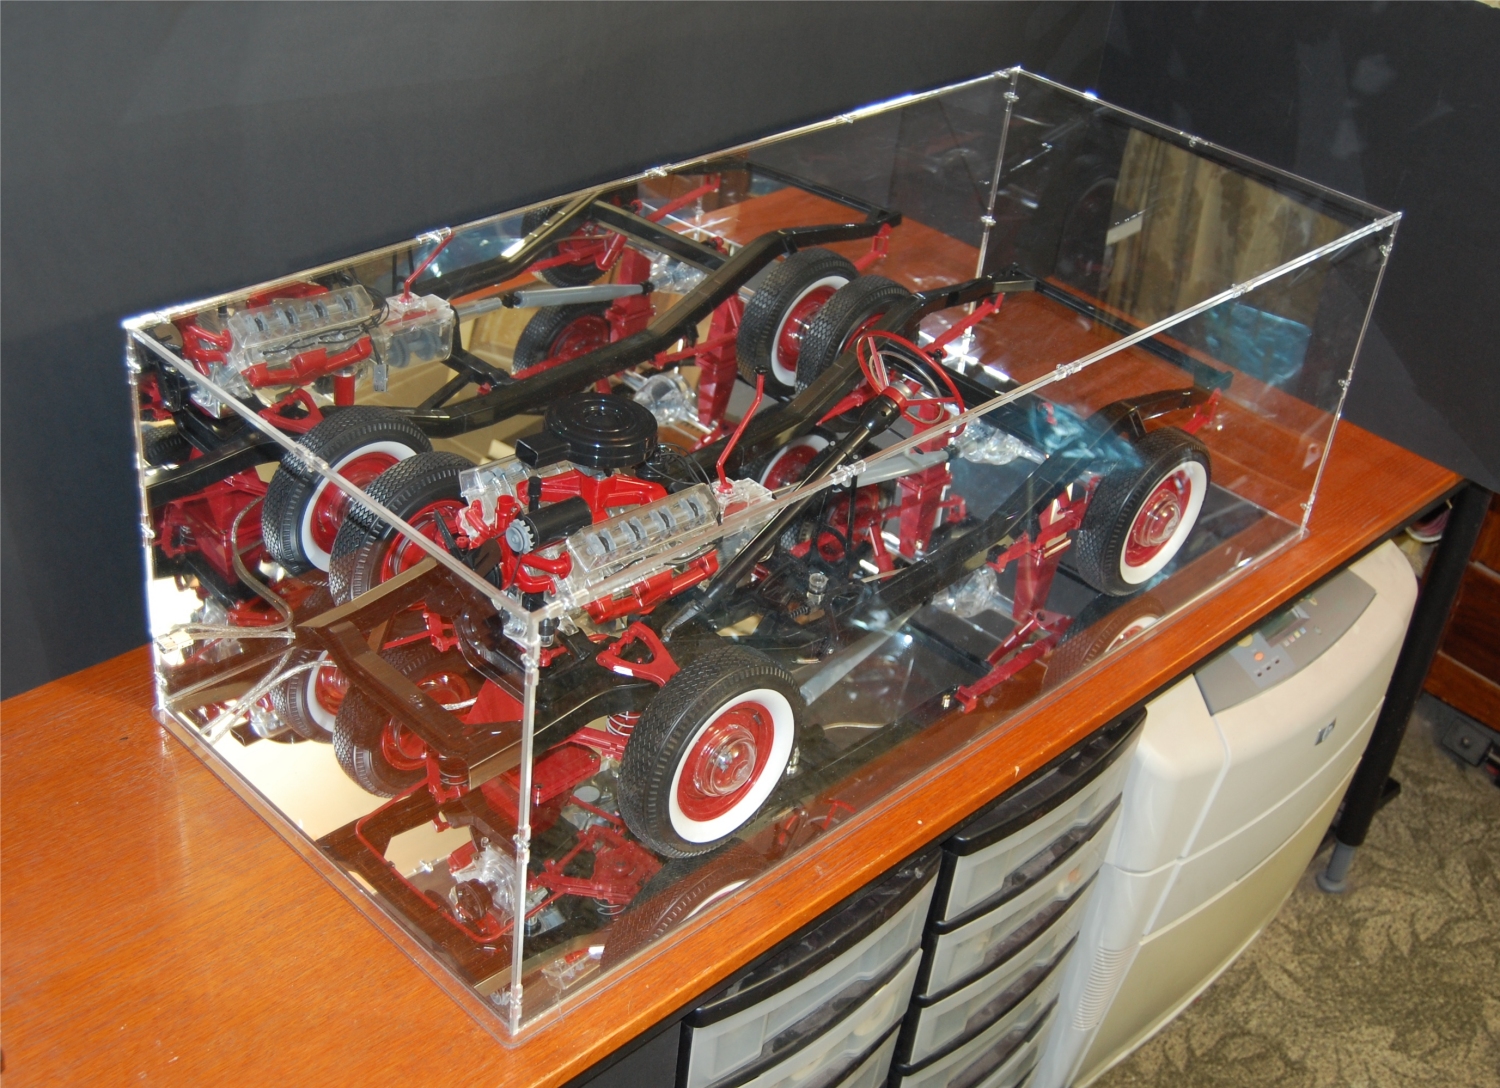
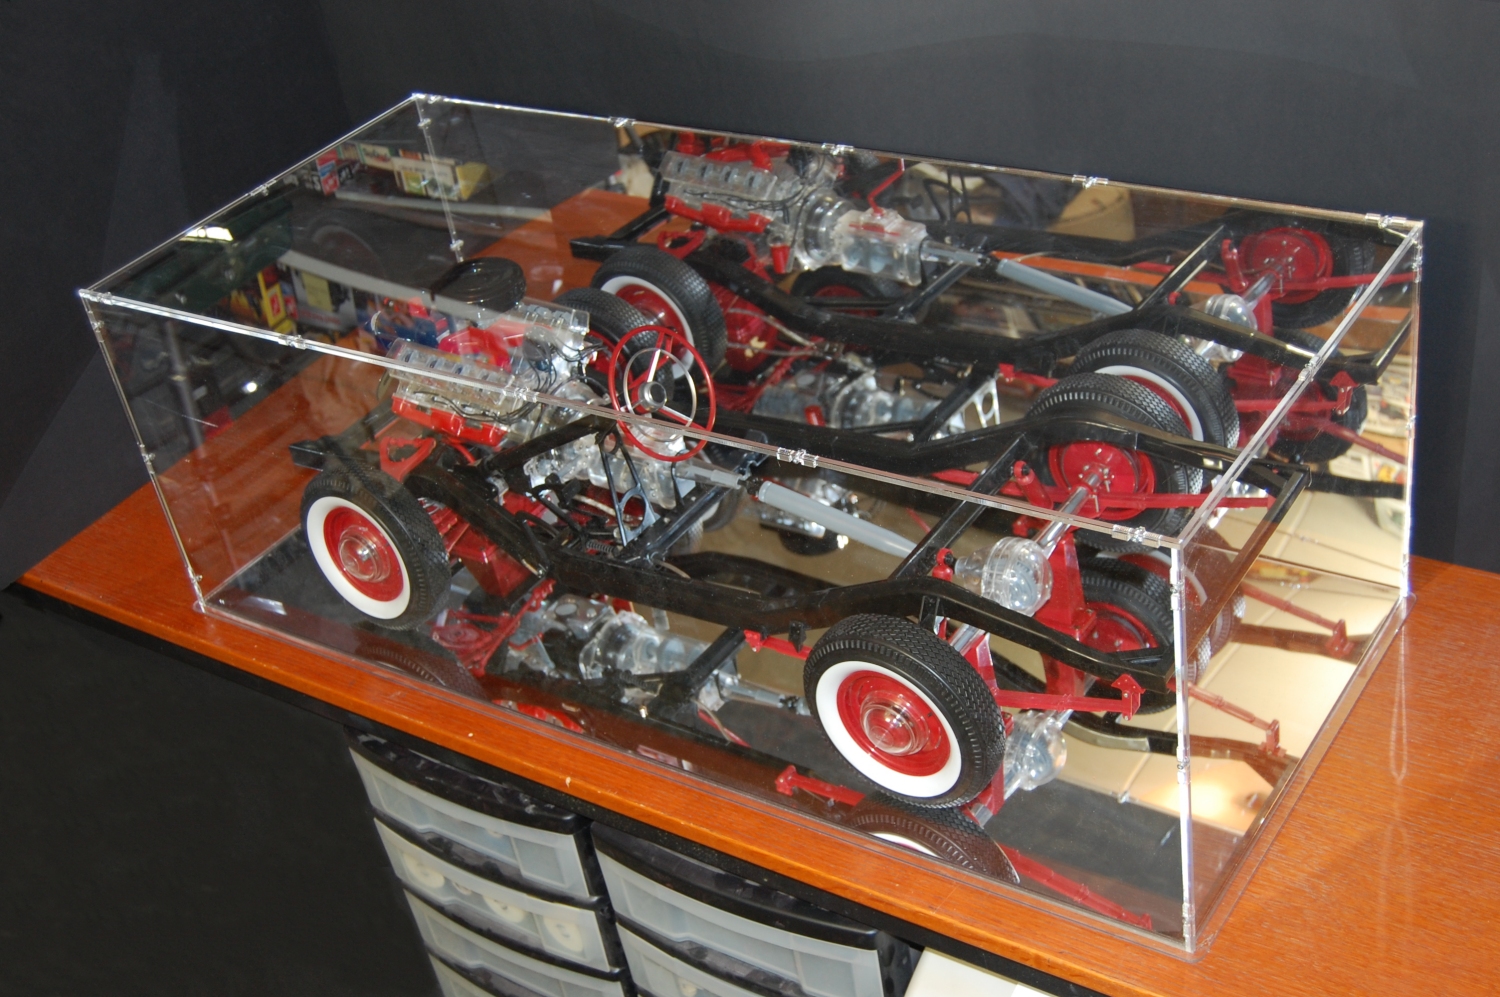
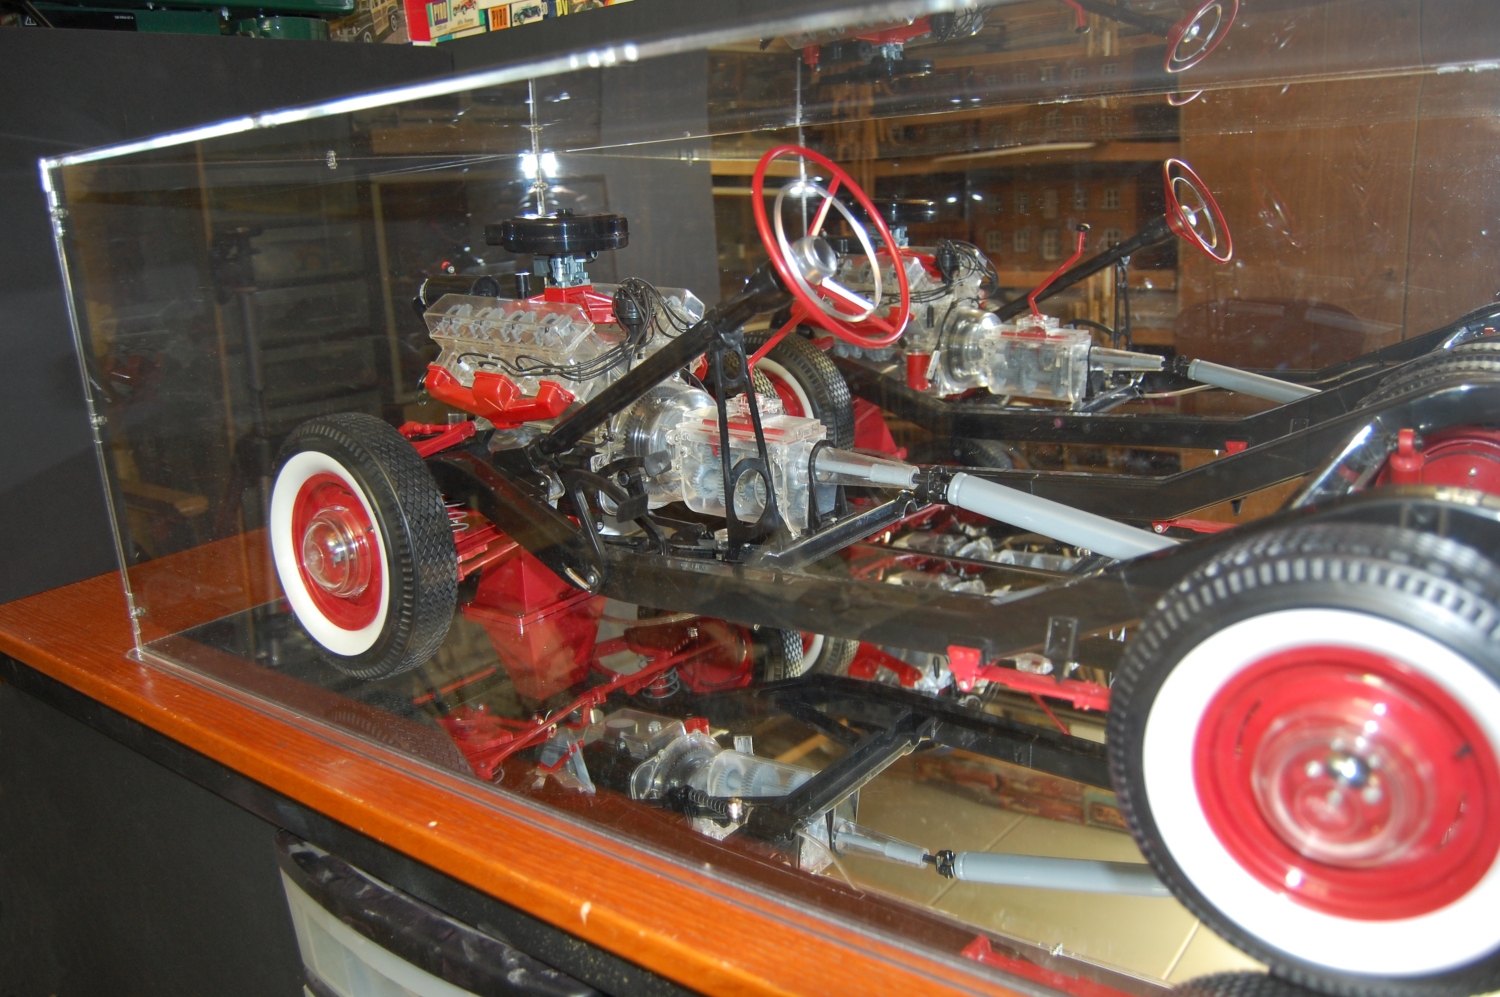
And here is the complete showcase, with mirror backplate. A bit difficult to photograph because of all the reflections in the perspex and the mirror base and back plate.
(click on the picture to open a large picture in a new window) |
 |
 |
 |
 |
 |
 |
 |